Have you ever wondered how to replace windows in your home? The process may seem daunting, but fear not! With the right instructions and a little know-how, you can confidently tackle the task. Whether you’re looking to upgrade your windows for energy efficiency or simply refresh the look of your home, this comprehensive window replacement guide has got you covered.
So, let’s dive in and discover the step-by-step process of measuring, removing, and installing replacement windows. By the end of this guide, you’ll be equipped with the knowledge to take on this project like a pro.
Key Takeaways:
- Replacing windows in your home can be a rewarding and beneficial project.
- Accurate measurements are crucial when ordering replacement windows.
- Removing old windows requires careful attention to detail.
- Proper installation is essential for a secure and energy-efficient window.
- Consider expert tips and professional assistance for a successful window replacement project.
Types of Replacement Windows: Full-Frame vs. Insert
Before diving into the window replacement process, it’s essential to understand the two main types of replacement windows available: full-frame and insert windows. Full-frame replacement windows involve replacing the entire existing window down to the house frame, while insert or pocket replacement windows only replace the existing sashes with smaller windows that fit inside the existing frames. The choice between the two depends on the condition of your existing window frames and the complexity of the project.
Full-frame replacement windows offer a comprehensive solution for homeowners who want to completely upgrade their windows. These windows provide a fresh start, ensuring that the entire window system is replaced, including the frame and sash. This option is ideal when your window frames are deteriorated or if you want to change the window size or style.
On the other hand, insert replacement windows are a more cost-effective and less disruptive option. Instead of removing the entire window frame, insert windows fit into the existing opening, replacing only the sashes. This type of replacement is often used when the existing frames are in good condition and the goal is to improve energy efficiency or update the window style.
Key Differences Between Full-Frame and Insert Replacement Windows:
| Full-Frame Replacement Windows | Insert Replacement Windows |
|---|---|
| Replace entire existing window, including frame and sash | Only replace existing sashes, fit into existing frames |
| Can change window size or style | No change in window size or style |
| Suitable for deteriorated window frames | Suitable for frames in good condition |
| Can be more expensive | Cost-effective option |
Deciding between full-frame and insert replacement windows depends on the specific needs and condition of your windows. If your frames are in good shape and you’re looking for a more budget-friendly solution, insert replacement windows are a viable option. However, if you want a complete window upgrade and have issues with your existing frames, full-frame replacement windows may be the better choice.
https://www.youtube.com/watch?v=BbEMx_2huWc
Measuring for Replacement Windows
Accurate measurements are crucial when ordering replacement windows. To measure for replacement windows, follow these simple steps:
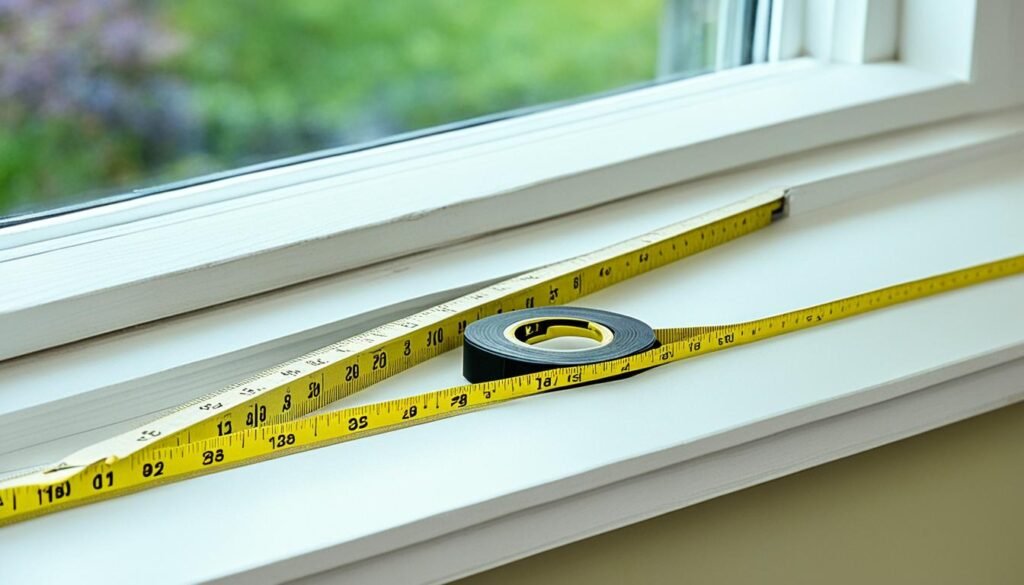
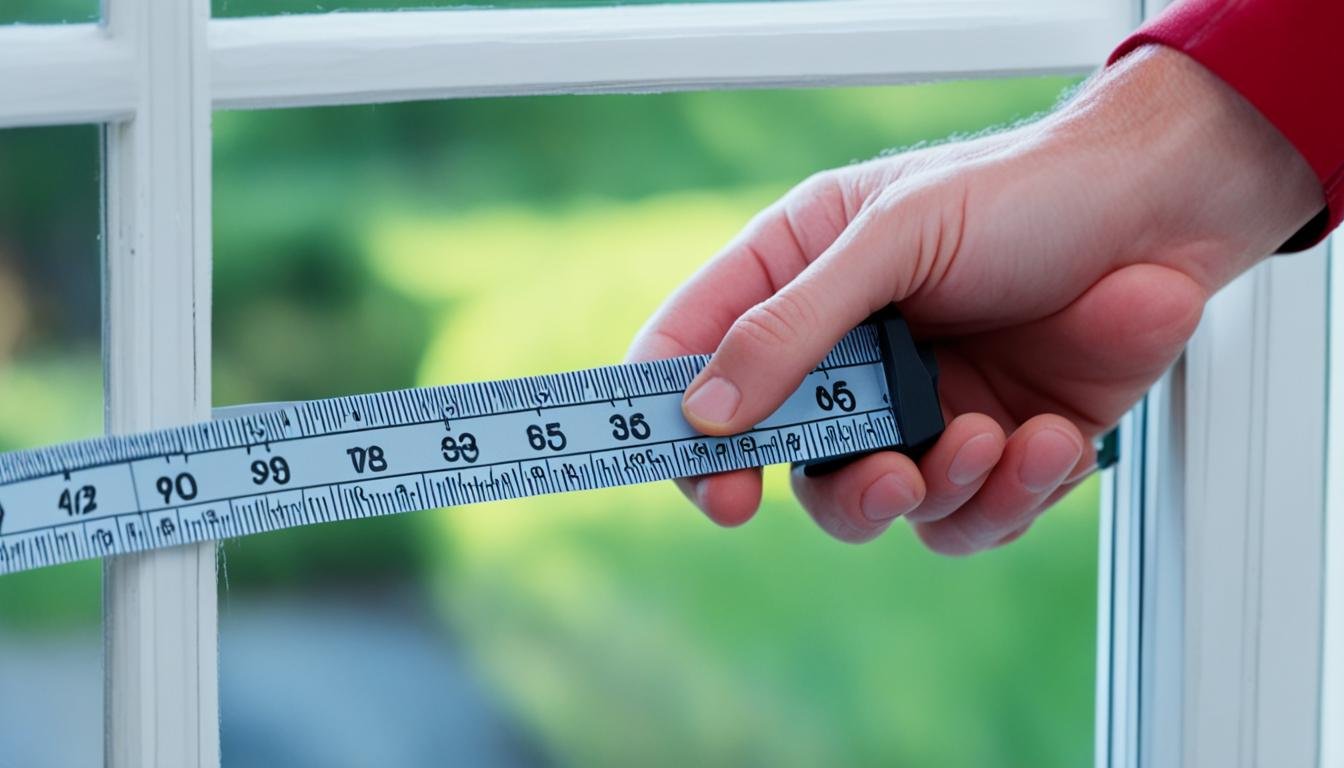
- Using a tape measure, determine the height and width of the pocket opening, measuring inside the existing frame.
- Take measurements at the left, middle, and right of the window for height, and at the top, middle, and bottom for width.
- It’s essential to use the smallest height and width measurements when ordering your windows to ensure a proper fit.

| Measurement | Description |
|---|---|
| Height | Measure from the top of the pocket opening to the bottom at the left, middle, and right of the window. Use the smallest measurement. |
| Width | Measure from the left side of the pocket opening to the right at the top, middle, and bottom of the window. Use the smallest measurement. |
By taking precise measurements, you can ensure that your replacement windows will fit perfectly, providing proper insulation and aesthetics for your home.
Removing the Old Window
The process of window replacement starts with removing the old window, and this step requires careful execution. Although the process may vary depending on the window design, we’ll provide you with a general guide to remove old windows and make way for your new ones.
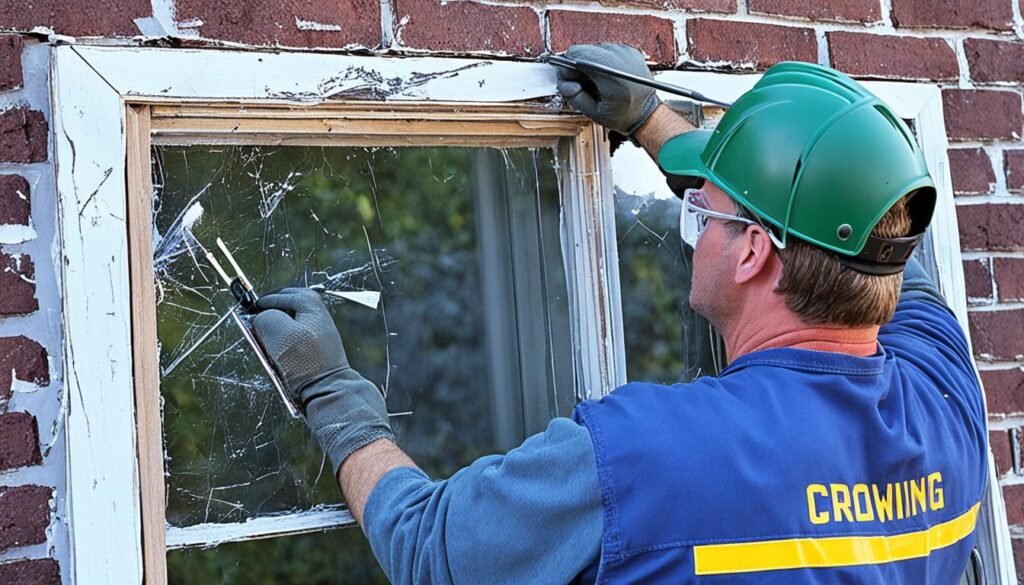
First, it’s best to approach the task from the outside. Begin by removing any storm windows if present. Then, with the help of a screwdriver, score along the edge of the window frame to identify and remove any screws. Once the screws are removed, gently pry off the frame, being cautious not to damage the surrounding area.
“The key to successfully removing old windows is to be patient and take your time. By doing so, you’ll avoid unnecessary headaches and ensure a smoother transition to your new windows.”
As you continue with the removal process, pay attention to any sash weights or sash springs attached to the window. These must be detached before proceeding further. Additionally, identify any stops present on the existing window that may need to be removed to facilitate its removal.
If you come across any holes or damaged wood during the process, don’t fret. Simply fill them with wood filler for added stability and aesthetics.

Preparing for the New Windows
With the old window successfully removed, take a moment to inspect the window opening. Check for any signs of damage or rot that may require attention before proceeding with the installation of your new windows. Proper preparation ensures a solid foundation for your replacement windows and contributes to their longevity.
Now that you’ve mastered the art of removing old windows, you’re one step closer to transforming the look and functionality of your home! Let’s move on to the exciting task of installing your new windows in the next section.
Installing the New Window
Now that you’ve successfully removed the old window, it’s time to install the new replacement window. Follow these simple steps to ensure a smooth and secure installation:
- Clean the window opening: Before installing the new window, make sure the window opening is clean and free from any debris. Use a brush or vacuum to remove dirt, dust, and any loose material.
- Apply flashing tape: To protect against moisture infiltration, apply flashing tape to the sill. This will create a waterproof barrier and prevent any potential water damage.
- Level the sill: Use shims to ensure that the sill is level. This will help to create a sturdy and even foundation for the window.
- Dry-fit the new window: Carefully place the new window into the opening without securing it. This allows you to make any necessary adjustments before permanently installing the window.
- Apply silicone caulk: Apply a bead of silicone caulk around the interior head, stops, and sill of the window. This will create a tight seal and prevent any air or water leakage.
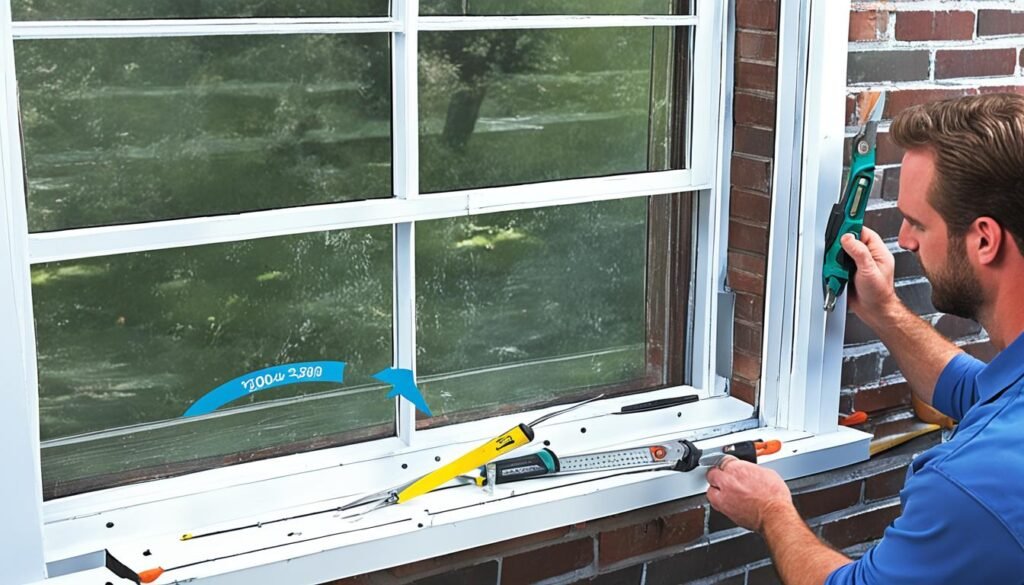
- Secure the window: Once the caulk is applied, secure the window in place using screws and shims. This will ensure that the window is firmly held in position.
- Check for plumb, level, and square: Use a level to check that the window is plumb (vertical), level (horizontal), and square (even on all sides). Make any necessary adjustments using shims.
- Apply spray foam insulation: To improve energy efficiency and further seal any gaps, apply spray foam insulation around the window frame. This will help to keep your home well-insulated.
- Install exterior trim: Finally, complete the installation by installing exterior trim around the window. This will enhance the overall appearance and provide a finished look.
By following these steps, you’ll be able to install your new replacement window with confidence. Remember to take your time and ensure each step is completed accurately for a successful and long-lasting installation.
Expert Tips and Considerations
When embarking on your DIY window replacement project, there are a few expert tips and important considerations to keep in mind. Taking the time to plan and prepare will ensure a successful installation and a perfect fit for your new windows. So, let’s dive in!
Choose the Right Replacement Windows
One of the most crucial aspects of your window replacement project is selecting the correct replacement windows. Consider factors such as the style, material, and energy efficiency of the windows. Double-check that they meet your specific needs and preferences. By choosing carefully, you’ll not only enhance the aesthetic appeal of your home but also improve its overall energy efficiency.
Precise Measurements are Key
Accurate measurements are essential for ordering replacement windows. Use a tape measure to determine the height and width of the window opening, measuring from the inside of the existing frame. Take measurements at multiple points, ensuring you record the smallest height and width measurements. This attention to detail will guarantee that your replacement windows fit perfectly and provide optimal performance.
If you’re unsure about taking measurements yourself, many window manufacturers offer measuring services or may have detailed guides available for your specific window types.
Inspect and Address Window Frame Condition
Prior to installation, thoroughly inspect the condition of your window frames. Look for signs of rot or water damage and address any issues before proceeding with the replacement. Repairing or replacing damaged frames will provide a solid foundation for your new windows and ensure their longevity.
Embrace Energy Efficiency
Considering energy-efficient windows is not only good for the environment but also for your utility bills. Look for ENERGY STAR® certified windows that are designed to reduce heat transfer and maintain comfortable indoor temperatures. Investing in energy-efficient windows can pay off in the long run, as you’ll enjoy significant savings on your heating and cooling costs.
Seek Professional Assistance if Needed
While DIY window replacement can be a rewarding project, it’s important to recognize when professional assistance may be necessary. If you have limited experience with home improvement projects or are uncertain about certain aspects of the installation process, don’t hesitate to reach out to professionals for guidance. They can help ensure a successful installation and address any challenges that may arise along the way.
Remember, the key to a successful DIY window replacement project is careful planning, precise measurements, and attention to detail. By following these expert tips and considerations, you’ll be well on your way to enjoying the beauty, comfort, and energy efficiency of your new windows.

| Expert Tips for Window Replacement |
|---|
| Choose the Right Replacement Windows |
| Precise Measurements are Key |
| Inspect and Address Window Frame Condition |
| Embrace Energy Efficiency |
| Seek Professional Assistance if Needed |
Conclusion
Congratulations on reaching the end of this comprehensive window replacement guide! Now that you have a clear understanding of the window replacement process, you can confidently tackle your project. Whether you’re in Utah or anywhere else, Sublime Home Solutions is here to assist you with professional expertise.
By following the step-by-step instructions outlined in this guide, you can measure your windows accurately, remove the old ones, and install beautiful replacement windows. The benefits of this project are manifold. Not only will you enhance the appearance of your home, but you’ll also improve energy efficiency and increase the value of your property.
Whether you’re a seasoned DIY enthusiast or prefer to leave it to the experts, Sublime Home Solutions in Utah is ready to assist you. Their team of professionals has the knowledge and experience to ensure a seamless window replacement process. So, take the plunge and give your home the upgrade it deserves!
FAQ
What are the two main types of replacement windows?
How do I measure for replacement windows?
What is the process for removing old windows?
How do I install the new replacement window?
What are some expert tips and considerations for window replacement?
Source Links
- https://www.lowes.com/n/how-to/install-a-replacement-window
- https://www.familyhandyman.com/project/how-to-install-replacement-windows/
- https://www.lowes.com/n/how-to/measure-windows-for-replacement

Servicing various areas in Utah, Wasatch Summit and Salt Lake County, including but not limited to Eagle Mountain, Provo, Spanish Fork, Saratoga Springs, Lehi, Salem, Payson, Elk Ridge, and more, we cater to homeowners with newly built homes featuring unfinished basements. Our team of skilled professionals understands the intricacies of basement framing and uses state-of-the-art techniques and tools to exceed our clients’ expectations. (801) 687-8722


