

Have you ever wanted to make your basement a welcoming and useful area? A spot to get away from daily stress and make memories with your family? If yes, you’re in good company. Many homeowners see their basement’s potential and start remodeling projects. The first step to a great basement is good framing.
Framing gives your basement the strong structure it needs. It also prepares it for everything you’ve planned. Whether it’s a warm family area, a home cinema, or your own gym, having the right supplies is critical.
But starting can be tricky. What supplies are essential for good framing? Don’t stress, we’re here to help. In this article, we’ll walk you through the must-have basement framing supplies for DIYers. We’ll discuss everything from waterproofing to tools and insulation. This will help you lay a solid base for transforming your basement.
Key Takeaways:
- Basement framing is key for a safe, useful home space.
- Getting the right supplies, like waterproofing and tools, is vital.
- Good insulation and blocking methods keep energy costs down and add support.
- Tips on assembly and installation make framing easier.
- Think about finish details and extra steps for the perfect basement look.
Waterproofing Supplies
Before you start framing your basement, make sure there are no water leak issues. It’s vital to keep your basement dry and free from mold. Using the right waterproofing supplies will protect your basement from water getting inside.
A top-notch water sealer is key for waterproofing your basement. It stops water from getting through walls, which can harm the structure. When you use a water sealer, you make your basement safer from moisture. This lowers the chance of having leaks and problems later on.
Also, think about using a product to fix cracks in concrete walls or blocks. Concrete can crack over time due to soil shifts and temperature changes. A good concrete patching product fills these cracks. It strengthens your walls and helps prevent leaks in the future.
Focus on waterproofing your basement well with a good water sealer and patching product. This will create a strong base for your framing project. It ensures your basement stays strong and lasts a long time.
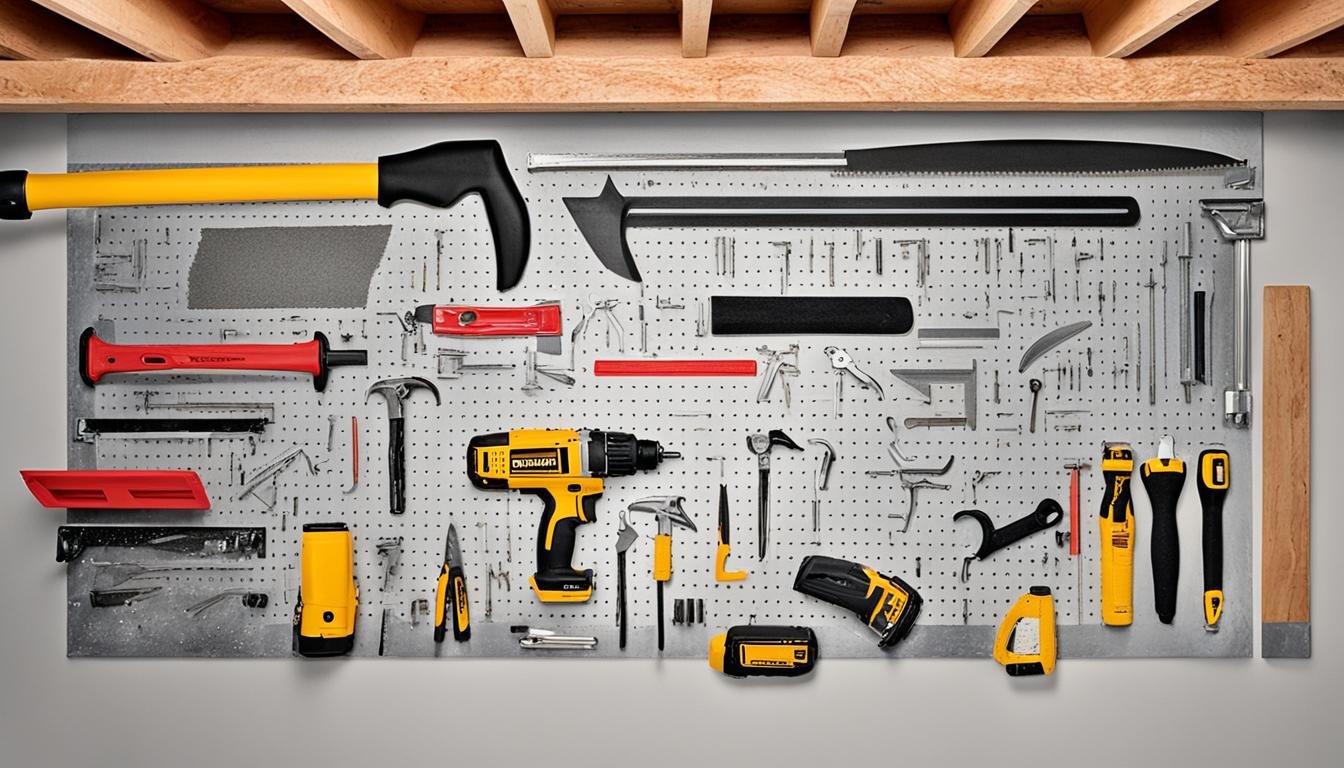
Framing Tools
To frame your basement walls right, you need certain tools. These tools ensure accurate measurements and solid framing. So, here are the tools you should gather:
1. Level
The level is vital for straight walls. It helps with precise measurements. This ensures your framing elements are aligned right.
2. Plumb Bob
The plumb bob helps get your walls vertical. It ensures your walls stand upright. They align well with surrounding structures.
3. Framing Hammer
You’ll need a strong framing hammer to join framing elements. It drives nails through studs firmly. This makes your structure stable.
4. Mitre Saw
A mitre saw makes cutting studs precise. You can cut at various angles. It ensures a snug fit and neat finish.
5. Nail Gun
A nail gun speeds up nailing. It drives nails fast and securely. This tool lets you work more effectively.
6. Chalk Line
Use a chalk line for marking walls. It helps keep your framing aligned. This ensures accurate placement of studs.
7. Drill
A drill is useful for many tasks. It creates holes for screws and pilot holes for nails. This tool is a must-have for drilling needs.
8. Wire Stripper/Cutter
If you’re doing electrical work, get a wire stripper/cutter. It accurately and safely prepares wires. It ensures good electrical connections.
With these essential tools, framing your basement will be easier. You’ll get professional results. Always use them safely and follow guidelines.
Insulation Materials
Insulating your basement correctly is key. A top choice for this is XPS foam board insulation. This type is made for basements. It blocks moisture well and keeps heat in.
XPS foam boards are 2 inches thick. This makes them great at insulating basements. They keep the area warm and save energy. They’re perfect whether you’re making a cozy room, office, or storage.
Use the right adhesive for XPS foam board insulation. This glue bonds the boards to walls strongly. Make sure the adhesive is fit for foam insulation to work best.
Here’s a table showing why XPS foam board insulation is good:
| Benefits of XPS Foam Board Insulation | |
|---|---|
| Moisture Resistance | Stops water and prevents damage |
| Thermal Insulation | Less heat loss, better energy use |
| Durability | No warping or rotting |
| Ease of Installation | Simple to put up |
| Fire Resistance | Better fire resistance than others |
XPS foam board insulation is full of benefits for basements. Its moisture block, warmth keeping, and strong build protect your basement walls well.
https://youtu.be/Bjuwpo9d3cQ?si=cf4rgtHM6XaojFWE
Blocking and Bracing Supplies
Framing your basement walls needs proper support for them to last long. That’s where blocking and bracing supplies help. They strengthen your basement’s framing when you use blocking and furring boards correctly.
Blocking: Essential for Secure Attachment
For a strong basement, it’s key to attach the top wall plate properly. You do this with blocking between the joists. This makes a solid point for attaching things securely. This ensures your basement walls will hold up, especially with heavy items attached.
Furring Boards: Creating Dead Space
Using furring boards is smart for drywall installation. They make space for hiding pipes or wires. This gives you a clean look and makes future fixes easier.
Choose furring boards carefully for lasting quality. Pick the right size and thickness for your project. Make sure they work well with your insulation and wall finishing.
Pro Tip: Always insulate your basement walls before adding furring boards. It saves energy and makes the area more comfortable.
Blocking and furring boards are a must for a strong basement project. They help with structure and make adding electrical and plumbing easier. Install blocking carefully and pick the right furring boards for a great basement remodel.

Assembly and Installation Tips
Assembling and installing your basement walls correctly is key. Follow these tips for a smooth, successful project. These recommendations will help you achieve professional-level results.
Assembling Walls
Start by building your walls on the ground. This makes access easier and lowers mistake or injury chances. Ensure studs and plates are correctly aligned to prevent wavy walls.

After assembly, it’s time to lift the walls into place. Do this carefully, making sure they fit snugly. Be careful when moving walls near windows or over uneven floors.
Fastening Plates
Begin securing walls by attaching the bottom plate to the floor. Use both construction adhesive and nails or screws for a firm hold. This stops the walls from moving or shifting later.
Plumbing the Walls
Making sure the walls are perfectly vertical is essential. Use a level to check their alignment. Adjust as needed to get them straight.
Next, secure the top plate to keep the walls stable. This attaches them firmly to the ceiling or joists above. Double-check alignment and use the right fasteners for your materials.
Additional Considerations
Pay extra attention to inside corners and window framing. Ensuring corners are well framed supports the structure. Proper framing around windows achieves both security and a good look.
Finish and Additional Considerations
You’ve finished framing your basement walls. Now, focus on the finish details and further considerations. These final steps will make your basement look and work better.
Addressing Finish Details
First, let’s discuss finish details. Think about using stylish finishes for columns or other areas in your basement. These can make your space look good and connect with your home’s design. You might choose fancy trim, molding, or special paint techniques.
Also, plan for access panels in your basement walls. These panels make it easy to reach plumbing or maintenance spots. By doing this, future repairs won’t ruin your walls.
Adding Drywall Backers
Adding drywall backers is key. Drywall backers like blocking or extra studs create a firm place for drywall. This stops drywall from sagging, making the finish look smooth and professional.
Think about where to place drywall backers, especially near electrical outlets or light switches. These spots need more support. Always check with a pro or follow local codes for correct support.
See the table below to picture where drywall backers go:
| Placement | Description |
|---|---|
| Between Studs | Add horizontal blocking between the vertical studs to provide support for the drywall. |
| Electrical Boxes | Add vertical studs on either side of electrical boxes to provide extra support. |
| Fixture Mounting | Install backing or additional studs around light fixtures, outlets, and switches. |
With careful placement of drywall backers, your basement walls will look excellent and last long.
Final Considerations
As you add finishing touches, think about what features you want. Like shelving, storage, or spots for art. These add to your basement’s function.
Consider what you’ll use the basement for. Whether it’s a home office, playroom, or a cozy spot to hang out. Make sure the finish suits your space’s purpose. This makes it inviting for you and your family.
With these final touches and considerations, you’re set to move forward in your basement project.
Conclusion
Having the right supplies for basement framing means you’re ready to start your DIY project.
Make sure the walls are strong, well-insulated, and useful. This is key.
Choosing top-quality materials for your basement will lead to a great outcome. Reliable materials last longer.
Embrace the work and make a lovely space. A good basement adds room and value to your home.
[…] your floors and surfaces during home painting projects is key. Canvas drop cloths are a great choice over cheap plastic ones. They are strong and can be used […]