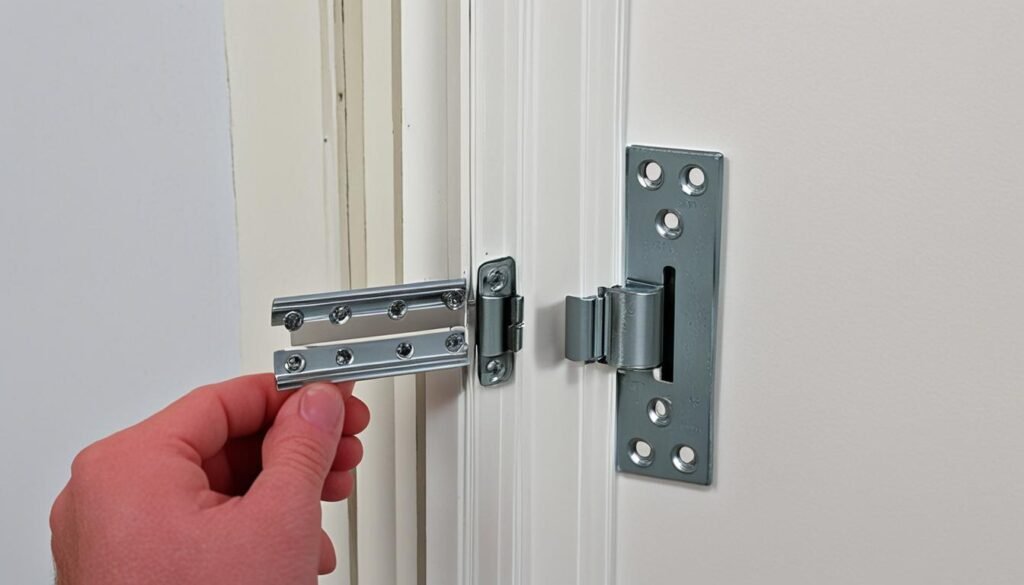
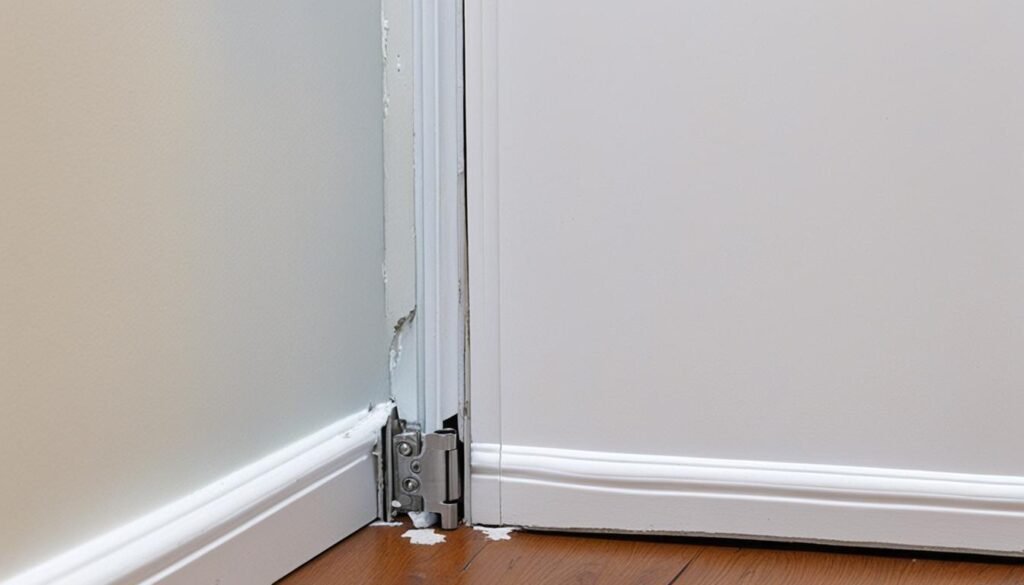
Doing it yourself can be very satisfying, especially for home improvements. Picture this: admiring a door you installed that swings and closes perfectly. It’s all because you learned the best way to hang a door. This chance for gratification is yours. With our door installation tips, even beginners can tackle hanging a door frame. Our DIY door hanging guide will give you the must-know door hanging tools. It makes the door hanging process easier. Plus, you’ll get detailed step by step door hanging instructions for a secure door installation. So, roll up your sleeves. It’s time to change your space, one hinge at a time.
Call for a Estimate (801) 687-8722
Key Takeaways
- Mastering door installation ensures enhanced functionality and beauty in your home.
- Understanding the right tools and process is key to a successful DIY door project.
- Following a step by step guide promotes accuracy and safety.
- Knowing how to assess and troubleshoot can save time and prevent common mistakes.
- A properly hung door is a testament to craftsmanship and attention to detail.
Preparing Your Workspace and Tools
Starting a door hanging project begins with door hanging preparation. First, it’s vital to set up a workspace for door hanging for a smooth and safe setup. Make sure to remove all furniture and obstacles. This gives you enough room for the door and to move around. Having good lighting and a clean floor will prevent trips and make it easy to see small tools and parts.
Gathering the right door installation tools is just as important. The correct tools help with accuracy and make the work easier. Here’s what you’ll need:
- A tape measure for exact measurements.
- A sturdy mallet or hammer for fitting adjustments.
- Chisels, for preparing the door and frame for hinges.
- Wooden wedges to keep the door tilted correctly.
- Marking gauge for accurate markings on the door.
- Plane to smooth out all surfaces.
- Drill for making pilot holes, easing the screwing process.
- Screwdriver set to fit different screw heads.
- A door holder or someone to help keep the door stable during install.
Having these tools ready improves your door installation a lot. Not only does it make work easier, but it also leads to better quality. Keep everything organized and close by as you use them.
Getting your workspace and tools ready is a key first step. Taking the time to prepare properly makes your door-hanging project run smoother and quicker. Now, with everything set, you’re good to go for checking and adjusting the door frame. This prepares you for a successful job.
Assessing and Tuning the Door Frame
Starting a door installation project means you need to check and prepare carefully. The first step is to assess the door frame. This makes sure your door will last and work well. Let’s look at what analyses and adjustments are needed for your new door to fit right and work smoothly.

Examining Rough Opening for Plumb
First, check the rough opening to make sure it’s plumb. This means the door won’t have strain, which could cause closing or locking issues. Use a level or laser plumb to measure the sides. Pay close attention to the results to find any issues.
Adjustments for Walls and Rough Openings
Sometimes, walls or openings don’t fit standard doors, so adjustments are needed. This might mean cutting the opening or using shims for openings that are too big. These changes are important to make sure the door frame fits right. They help ensure the final door installation is perfect.
- Check for plumb using a level or laser tool.
- Mark any areas on the wall or rough opening that are misaligned.
- Implement adjustments by trimming or shimming as needed.
- Reexamine the opening for plumb after adjustments to confirm accuracy.
| Adjustment | Tools Needed | Purpose |
|---|---|---|
| Shimming | Shims, Hammer | To fill gaps and ensure a snug door frame fit |
| Trimming | Saw, Measuring Tape | To widen a too-tight opening for the door frame |
| Leveling | Level, Laser Plumb | To check for vertical alignment on either side of the opening |
Once you’ve made these adjustments and checked the plumb rough opening, you’re ready to hang the door. Being thorough at this stage is crucial. It ensures your door will work well and last a long time.
Best Way to Hang a Door
Hanging a door can be very satisfying and really boost your DIY skills. This guide shows you how to do it right, step by step. With these clear instructions, your door will look great and work perfectly.
Starting with the Hinge-Side Jamb: Begin by making the hinge jamb straight. This step is key for a door that hangs right and swings clear. Make sure it’s straight up and down, then fix it firmly to the stud.
Adjusting the Top Gap: Then, ensure the gap at the top of the door is even. This helps the door fit just right and stops issues like sticking or hinge damage later on.
Shimming the Latch-Side Jamb: The latch side needs your focus too. Position it carefully, secure it, and ensure a tight fit for the door. This helps your door close smoothly without any noise.
Keep checking things as you go. The success of your project depends on getting it right. If something’s off, fix it now for the best results.
- Plumb hinge jamb and attach it to the wall stud with screws.
- Adjust the gap across the door top for a consistent space.
- Use shims to perfectly align latch-side jamb, then nail it in place.
In short, pay close attention to each step in this guide. Work carefully and take your time. This way, you’ll get a door that not only looks amazing but works great too.
Installing Door Hinges and Hardware
After you’ve hung your door, the next step is to install the door hinges. It’s vital to get a secure hinge installation for the door to work right and stay put. We’ll look at the best ways to make sure your hinges are tight and talk about using screws or nails for the door hardware.
Methods to Achieve a Secure Hinge Installation
For a lasting door hardware installation, it’s key to focus on the hinge’s solid connection. Using quality screws can help anchor the hinge into the door frame, especially for doors that are used a lot. Make sure the screws go deep enough, not just into the door jamb but also the frame behind it.

Screw vs. Nail: The Best Fasteners for Your Project
When deciding between screws and nails for door installation, screws often win. They hold stronger and are easier to adjust if needed. Nails might work for lighter doors or quick fixes but can get loose from opening and closing the door too much. Below is a table comparing screws and nails for installing door hardware.
| Fastener Type | Strength | Removability | Application |
|---|---|---|---|
| Screws | High | Easy to remove and adjust | Ideal for heavy doors and high-traffic areas |
| Nails | Moderate to Low | Difficult to remove without damage | Suitable for lighter doors or less frequently used entrances |
In conclusion, a secure hinge installation takes careful planning and the right fasteners. Picking screws for your door’s hardware means you’re setting it up for a stable and long-lasting use. This keeps your door working well for many years.
Expert Tips for Troubleshooting Common Installation Issues
When working on door installation troubleshooting, you might face some common door installation issues. A door that won’t latch might need a simple fix. Or, you may have a door that’s hard to close. Here are expert tips to tackle these problems effectively.

Door Won’t Latch: This trouble usually comes from the latch and strike plate not lining up. Try adjusting the strike plate for a better fit. Also, look for any shifts in the house that affect the door’s position.
Door Binds and Resists Closing: A door that won’t close smoothly could be warped or have hinge issues. Make sure the hinges are tight and correctly installed. If problems persist, trimming the door’s edge could help it close easier.
| Issue | Possible Cause | Troubleshooting Tip |
|---|---|---|
| Door won’t latch | Misaligned latch and strike plate | Adjust strike plate alignment or reposition the door stop |
| Door binds at the top | Upper hinge is loose or misaligned | Tighten hinge screws or realign hinge placement |
| Door binds at the bottom | Settling of frame or improper installation | Check for frame squareness and adjust if necessary |
| Door sticks in summer | Humidity causing expansion | Consider planing the door or adjust margins for seasonal changes |
These tips should help make door installation troubleshooting easier. But, if problems like a tight door keep happening, it might be wise to get a pro’s help. They’ll know how to handle tricky issues from misalignment to structural problems.
Conclusion
We’ve now finished our journey on how to hang a door. This guide showed you every step needed for a successful door installation. It covered preparing your space, fixing the frame, and putting in hinges and hardware. You also learned how to tackle common problems.
Hanging a door requires both accuracy and patience, from start to finish. You’ve learned a lot about the process, allowing you not just to do the task but to enjoy the details that make a door work well and look good. Remember, doing things carefully and thoroughly makes hanging a door satisfying.
The best doors work well and look good together. This guide aimed to help you reach this goal. Every step was meant to ensure a secure and neat installation. Now that you’re done, your space is better for it. You can be proud of the work you’ve done every time you use the door.
Call for a Estimate (801) 687-8722


