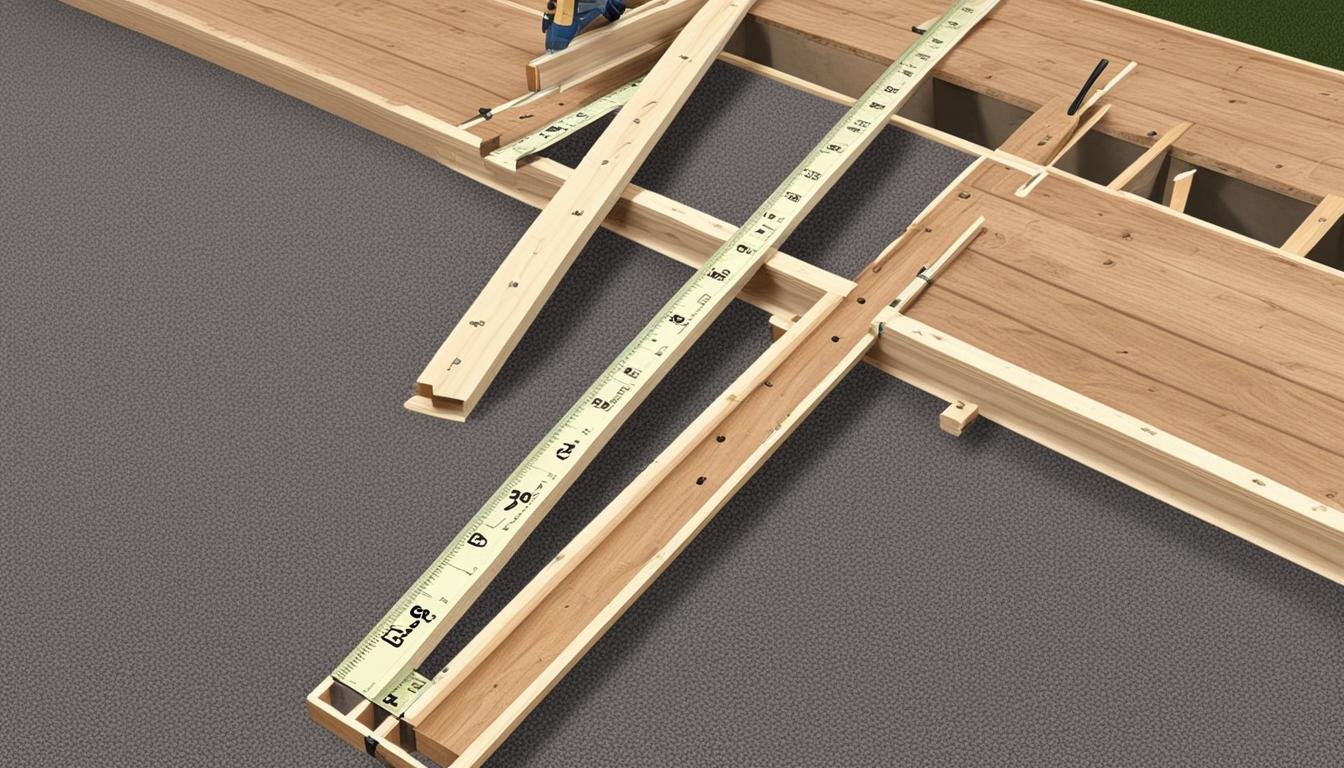
Imagine your ideal backyard. Do you see a stunning deck perfect for gatherings and sunbathing? But, have you thought about what’s underneath those shiny deck boards? The key to a long-lasting and safe deck is the deck framing phase. In this complete guide, you will learn the sturdy, DIY deck framing techniques. These techniques ensure your deck remains solid over the years. It’s more than just putting wood together. It’s about mastering the craft that supports your deck.
This guide will show you how to make a deck that’s not just safe but lasts for generations.
Starting your deck framing adventure means building a stable base for your haven. This guide provides useful tips, key steps, and professional advice. It makes a challenging task doable and fulfilling. Are you prepared to lay down a strong foundation for your dream deck? Let’s dive in.
Key Takeaways
- Understanding the importance of a solid deck framing foundation for ultimate deck safety.
- Detailed guide to mastering deck construction basics.
- Insights on avoiding common errors in your DIY deck framing adventure.
- Tips for choosing the right materials and building smart.
- Easy-to-follow instructions to boost your confidence in building a durable deck.
The Foundation of Deck Framing: Understanding Key Components
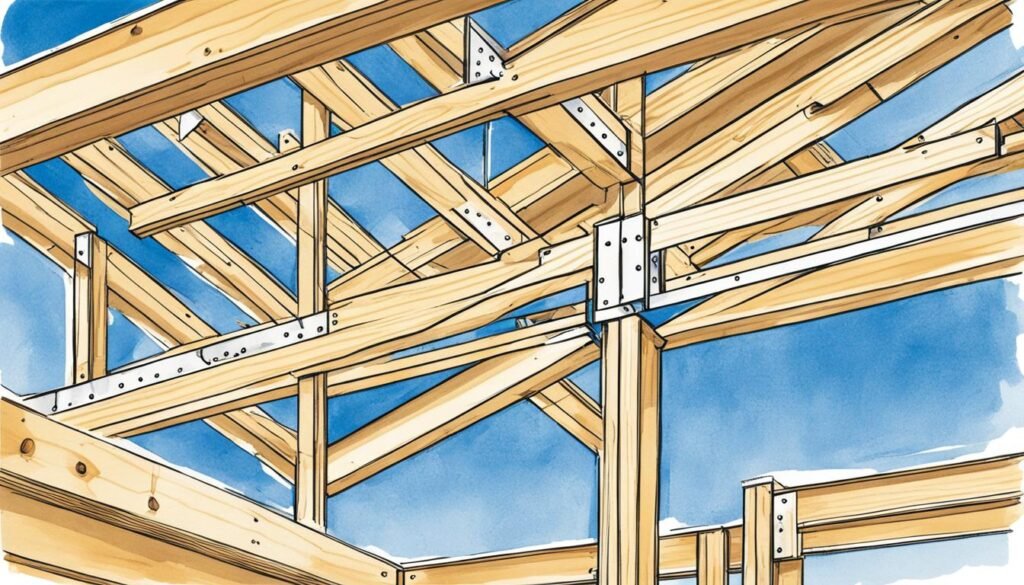
Building a deck starts with its deck framing foundation. This foundation is key for everything that follows. Your outdoor space’s safety and lastingness depend on knowing the vital deck frame components. These elements are the ledger board, beams, posts, and joists. They form a strong base for your deck.
The ledger board is crucial. It connects your deck to the main house, keeping it secure. It must be installed right to stop water from harming your deck. Posts give support and hold up the beams around your deck’s edge.
Beams act as the main support that holds up the joists. These joists then hold the decking boards. Choosing the correct size and material for beams and joists is critical. This choice affects how well your deck can carry weight.
- Deck framing foundation ensures weight is properly supported
- Ledger board keeps the deck attached to your home
- Posts add strength and lift the deck up
- Beams provide necessary horizontal support
- Joists stretch across beams to hold decking boards
Knowing how these parts work together helps you make sure everything is right. A well-built deck framing foundation not only makes your deck last longer. It also means your deck is safer and looks better.
Framing a Deck: Step-by-Step Instruction
Deck construction is a rewarding DIY project for many. Following a guide helps ensure your deck becomes a key part of your outdoor space. With the right planning and precision, your deck’s stability and looks will be top-notch.
Start with a Detailed Deck Framing Plan
Before you start, create a detailed plan for your deck. It’s vital to define its size and consider the environment it will be in. Think about the layout, size, shape, and height. Always keep in mind local codes to ensure your deck is safe and compliant.
Secure and Accurate Ledger Board Installation
Installing your ledger board correctly is crucial. It connects your deck to your house. You need to measure accurately and use strong hardware. This makes sure your deck is stable and level.
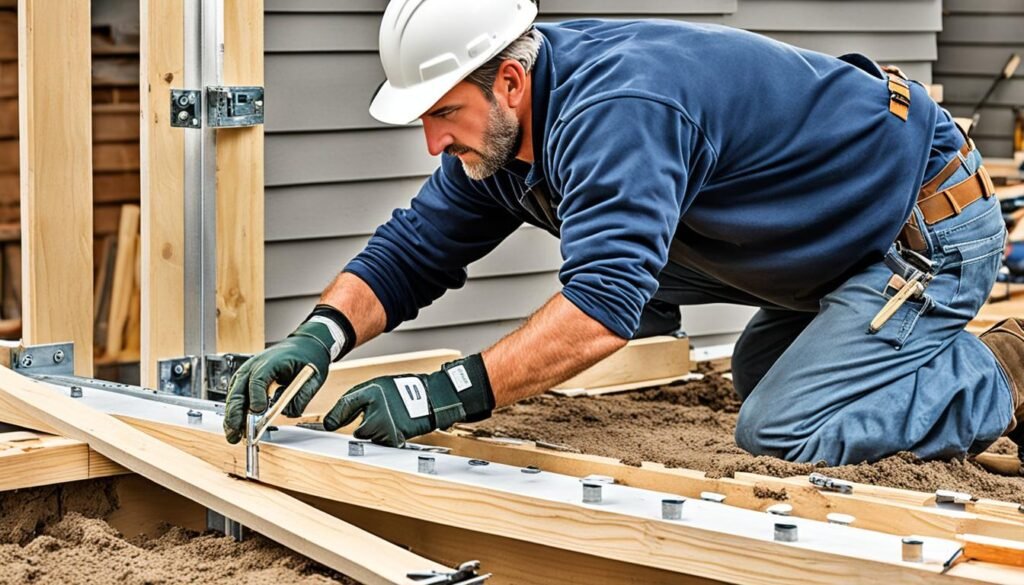
- Find where the ledger board will go on your house.
- Check the board is straight with a level.
- Drill holes first, then fasten the board with the right screws.
- Ensure the board is firmly attached to support the deck’s weight.
Setting Posts and Pouring Concrete Footings
Next, focus on setting the deck posts. It starts with preparing the site and carefully pouring concrete footings. Dig holes to the required depth, then place and secure the posts. The posts must be straight and well-supported by concrete to keep the deck stable.
Joist Size, Span, and Spacing Considerations
Choosing the right size for your joists is key for a lasting deck. They should fit the span and be spaced correctly for weight distribution. Use the table below as a guide. This ensures your deck can hold gatherings and stand up to wear and tear.
| Joist Size | Max Span (ft) | On-Center Spacing (in) |
|---|---|---|
| 2×6 | 9-11 | 16 |
| 2×8 | 12-15 | 16 |
| 2×10 | 15-17 | 16 |
| 2×12 | 18-20 | 16 |
By following these steps, you’ll create a deck that’s both strong and beautiful. Start with a good plan and move through each step carefully. Your deck will enhance your home and be a place for many special outdoor moments.
Navigating Materials: Choosing Quality for Your Deck Frame
When starting a deck framing project, picking the right materials is key. It impacts how long and well your outdoor space lasts. Let’s look at how to pick deck framing materials that are durable.
Wood framing is popular for its natural look and cozy feel. Pressure-treated lumber stands out in wood options. It fights off moisture and bugs because of its protective chemicals. This choice is budget-friendly and long-lasting for fans of traditional wooden decks.
- Durability against rot and insect damage
- More affordable than some alternative materials
- Wood can be easily cut and sized for custom designs
Metal framing, made from materials like aluminum or steel, is becoming popular in decking. It doesn’t warp, twist, or shrink. So, it better stands up to weather than wood frames.
- Consistent strength over long spans
- Low maintenance and resistance to fire
- No need for chemical treatments
Composite decking materials, a mix of wood and plastic, are gaining fans. They need little upkeep and look the same over time.
Wood and metal framing both have good points. The best pick depends on your local weather, how you’ll use the deck, and how much upkeep you want to do. Quality materials mean your deck will last longer, no matter what.
Remember, a deck is only as strong as its frame, so select materials with diligence and foresight.
Tips and Tricks for a Sturdy Deck Construction
Achieving a sturdy deck construction is crucial for your outdoor space’s longevity and safety. In this guide, you’ll learn key practices for deck stability. Also, you’ll understand the importance of selecting proper materials and techniques.
Ensuring Levelness Across Your Deck Frame
Deck levelness is essential for looks and safety. Use a high-quality spirit level to ensure evenness. Check the alignment of posts and beams during construction. Make the needed adjustments to keep everything balanced.
Be aware that soil settling and weather can impact your deck over time. So, building with care is necessary.
Choosing Between Wood and Metal Framing
Choosing between wood vs. metal framing depends on various factors. Wood gives a traditional feel but needs treatments against decay. Metal, on the other hand, lasts longer and withstands the elements better. Think about the climate, your budget, and what you prefer.
Also, consider the maintenance each option requires. Think about how it will affect your deck’s stability before deciding.
Diagonal Bracing for Added Stability
Diagonal bracing strengthens your deck, especially in windy or earthquake-prone areas. By adding diagonal supports between joists or posts, you make your deck more stable against lateral forces. This method secures it firmly.
| Feature | Wood Framing | Metal Framing |
|---|---|---|
| Material Cost | Lower initial cost | Higher initial cost, lower long-term cost due to durability |
| Resistance to Decay | Requires periodic maintenance | Resistant to decay and pests |
| Installation Difficulty | Easier to modify on site | Requires specialized tools and knowledge |
| Longevity and Durability | Dependent on maintenance and environmental factors | Typically lasts longer with less maintenance |
| Environmental Considerations | Sustainable options available but varies by type | Often recyclable, reducing long-term environmental impact |
By following these essential tips and incorporating proper leveling, choosing the right materials, and using bracing techniques, your deck will last for many years. It will offer a safe and enjoyable outdoor space for a long time.
Maximizing Deck Safety through Secure Framing Techniques
Building a safe deck is key. Using secure deck framing techniques makes a deck last and prevents accidents. These deck framing best practices ensure deck frame stability. This gives homeowners peace of mind.
For a strong deck, choosing the right materials is crucial. Right hardware and fasteners boost strength and handle loads and weather. Let’s explore some key techniques and parts for a secure deck.
- Choose Corrosion-Resistant Fasteners: These keep the deck strong over time by fighting deterioration.
- Implement Proper Joist Hangers: Use the correct size of joist hangers for solid support.
- Use Ledger Locks and Flashing: Properly attaching the ledger board prevents water damage.
- Employ Diagonal Bracing: Diagonal bracing adds stability, countering side forces.
Using the right hardware is just the start. It’s also vital to strengthen key spots. Make sure guardrail posts, stairs, and ledger boards are extra secure. These points handle a lot of stress. Here’s a table that shows techniques to increase deck stability:
| Technique | Contribution to Deck Frame Stability | Notes |
|---|---|---|
| Flash Sealed Ledgers | Prevents water infiltration that can lead to wood rot and weaken the deck structure | Essential for ledger boards attached to the home |
| Horizontal Sheathing | Adds shear strength to the overall structure and aids in load distribution | Ideal for high-load decks or those with heavy composite materials |
| Post Base Anchors | Ensures posts are secured against uplift and lateral movement | Vital in regions with high winds or seismic activity |
| Beam-to-Post Connectors | Locks beams in place, preventing shifts that can compromise support | Consider using notched posts for added interlock |
Following secure deck framing methods reduces accident risks. It’s about more than just code compliance. It’s about protecting a place for gatherings. By applying these practices, your deck can be both welcoming and secure.
Deck Framing’s Role in Functional Outdoor Spaces
Deck framing might not seem key at first when imagining outdoor areas. But, it’s the backbone for those stunning decks. It makes decks longer-lasting and sturdy enough for different materials. Also, strong deck framing helps avoid issues and makes upkeep easier for homeowners.
Creating a Foundation for Custom Deck Designs
A great outdoor space begins with an idea. Maybe you dream of a deck for meals under the stars or gatherings. To make these ideas real, you need strong deck framing. It supports all your layout needs and keeps everything in place.
Matching Deck Framing with Decking Material Choices
The decking materials add to your deck’s look and strength. Whether it’s wood or composite, the framing must fit these choices well. This makes sure your deck looks good and lasts long without safety issues.
| Decking Material | Benefits | Considerations for Framing Design |
|---|---|---|
| Pressure-Treated Wood | Economical, readily available | Must accommodate for potential wood swelling and shrinkage |
| Cedar or Redwood | Natural beauty, decay resistance | Requires a more delicate touch to prevent splitting |
| Composite | Minimal maintenance, variety of colors and textures | Heavier load; special fasteners may be necessary |
| PVC | Impervious to rot and insects, versatile | Lightweight but requires secure fastening to prevent movement |
Longevity and Ease of Maintenance with Solid Framing
Solid framing is vital for your deck’s long life. It means less maintenance and a stronger deck. Good framing keeps your deck safe from warping and damage. This lets you spend more time enjoying your deck and less on repairs.
Installing the Deck Surface: Completing Your Deck Framing Project
The next step in your deck project is the deck surface installation. This is when your deck starts to really look like a deck. You’ll lay down the deck boards, make sure they’re all aligned and spaced correctly, and finish them off with deck screws. This makes your deck not just look great but also last longer.
Deck Board Alignment for Aesthetic Appeal
First up is deck board alignment. Choose a point on your deck that everyone will see. This is where you start laying your boards. Getting it right here means your deck will look even and beautiful.
Spacing Deck Boards for Durability and Drainage
Now, let’s talk about deck board spacing. This step is crucial for keeping your deck in top shape. Proper spacing allows the boards to expand and contract. It also keeps water from pooling up. A spacing of 1/8″ to 1/4″ is usually best.
Deck Screw Techniques for a Flush Finish
Last is mastering deck screw techniques. Screws should sit just below the surface of the wood. This makes your deck safe to walk on and keeps the screws from rusting. Use the right tools to avoid splitting the wood or having screw heads stick out. This gives your deck a smooth look.
| Consideration | Alignment | Spacing | Screw Technique |
|---|---|---|---|
| Objective | Symmetrical Appearance | Durability & Drainage | Flat & Secure Surface |
| Tools Required | Chalk Line, Tape Measure | Spacing Tool, Ruler | Drill, Countersink Bit |
| Material Consideration | Board Straightness | Wood Type & Environmental Factors | Screw Length & Type |
| Best Practice | Start from the Center Outward | Consistent Gaps Across Boards | Pre-drilling Holes |
The little details in deck surface installation, like deck board alignment, deck board spacing, and deck screw techniques, make your deck stand out. Enjoy the look and feel of your well-built deck. It’s a space you’ll love for years.
Best Practices for DIY Deck Framing: A Handy Guide
Starting a DIY deck framing project is both thrilling and tough. It’s vital to keep best practices for deck framing in mind, as well as local building codes. Having the right tools and knowledge from the start will help you tackle common challenges more easily and efficiently.
Following Local Building Codes for Deck Framing
Following local building codes is key in DIY deck framing. These codes make sure your deck is safe and strong. Before starting, get the necessary permits and learn about your area’s rules. Since rules can differ a lot, knowing them is crucial for your project to meet standards and be successful.
Proper Tool Usage for Efficient Deck Framing
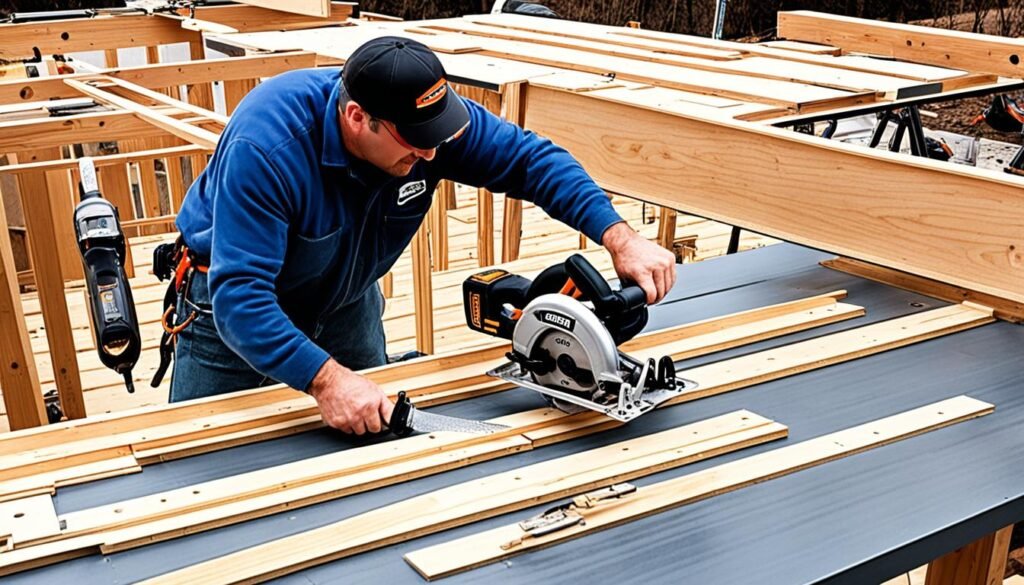
Using tools efficiently is very important for building a solid and accurate deck frame. Buying quality tools like circular saws, levels, and power drills is a good investment. It makes your work better and faster. Being skilled with these tools also helps you avoid expensive mistakes.
Addressing Common Framing Challenges
Even experienced DIYers run into common problems when building decks. Challenges like working on uneven ground, figuring out how to distribute weight, or keeping the frame level are common. Planning carefully, double-checking everything, and not hurrying are best practices that help you overcome these issues. For tough problems, look up more information or ask a pro for help.
| Challenge | Best Practice |
|---|---|
| Uneven Ground | Use adjustable supports and shims to achieve a level frame. |
| Inaccurate Measurements | Measure twice, cut once; always double-check before altering materials. |
| Material Selection | Choose durable, weather-resistant materials suited for your climate. |
| Complex Design Choices | Start with a detailed plan, considering all angles and dimensions. |
| Hardware and Fasteners | Opt for high-quality, corrosion-resistant fasteners for longevity. |
By following these DIY deck framing tips and focusing on each step with care, you can build a deck that looks great and lasts long. Always take breaks, keep your work area clean, and put safety first on your DIY journey.
Conclusion
We’ve looked at the key parts of building a deck. It’s clear that every step matters a lot. A strong framework is core to a deck’s durability, safety, and lifespan. Knowing about parts like the ledger board and joists helps you build a deck that lasts.
Building a deck is rewarding. If you follow the advice in this guide, your DIY deck can be both beautiful and sturdy. A well-made deck not only looks good but also provides a safe place for enjoying the outdoors with loved ones.
Starting a deck project might seem tough, but you have the tools you need. This guide doesn’t just show you how to build something. It helps you make a space for relaxation and style that lasts for years.
FAQ
What are the key components of deck framing?
How important is it to have a detailed plan before framing a deck?
How do I securely install the ledger board for deck framing?
What is the process for setting posts and pouring concrete footings?
What considerations should I keep in mind for joist size, span, and spacing?
What are the options for deck framing materials?
How can I ensure my deck frame is level?
What are the advantages and considerations of wood versus metal framing?
How does diagonal bracing contribute to deck stability?
What techniques can I use to maximize deck safety through secure framing?
How can deck framing accommodate custom deck designs?
How does deck framing influence the choice of decking materials?
What are the benefits of a solid deck frame in terms of longevity and ease of maintenance?
How can I ensure proper alignment of deck boards for aesthetic appeal?
What is the recommended spacing between deck boards for durability and drainage?
How can I achieve a flush finish with deck screws?
What should I consider when following local building codes for deck framing?
What are the recommended tools for efficient deck framing?
What are some common framing challenges I may encounter during deck construction?

Servicing various areas in Utah, Wasatch Summit and Salt Lake County, including but not limited to Eagle Mountain, Provo, Spanish Fork, Saratoga Springs, Lehi, Salem, Payson, Elk Ridge, and more, we cater to homeowners with newly built homes featuring unfinished basements. Our team of skilled professionals understands the intricacies of basement framing and uses state-of-the-art techniques and tools to exceed our clients’ expectations. (801) 687-8722
