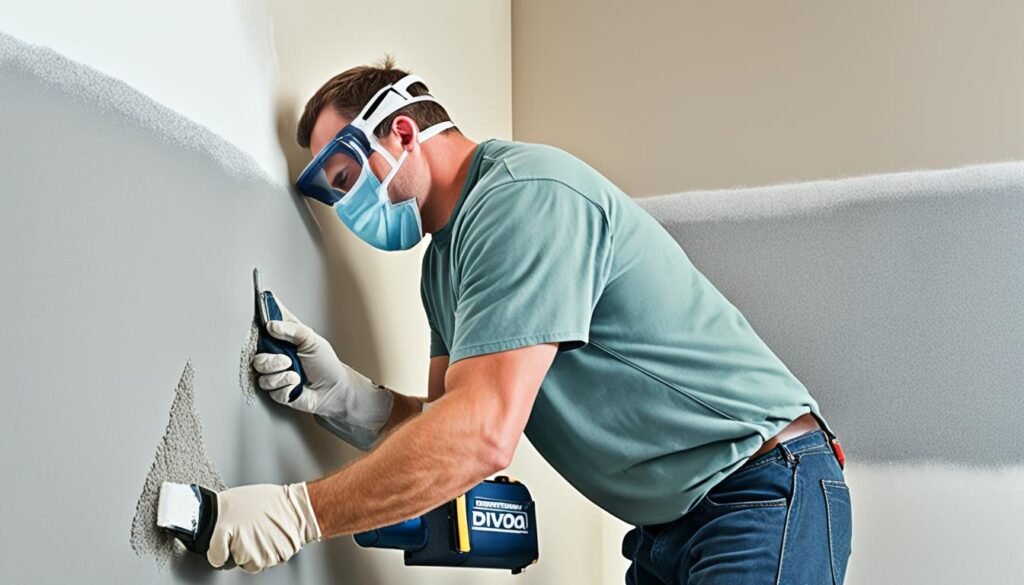
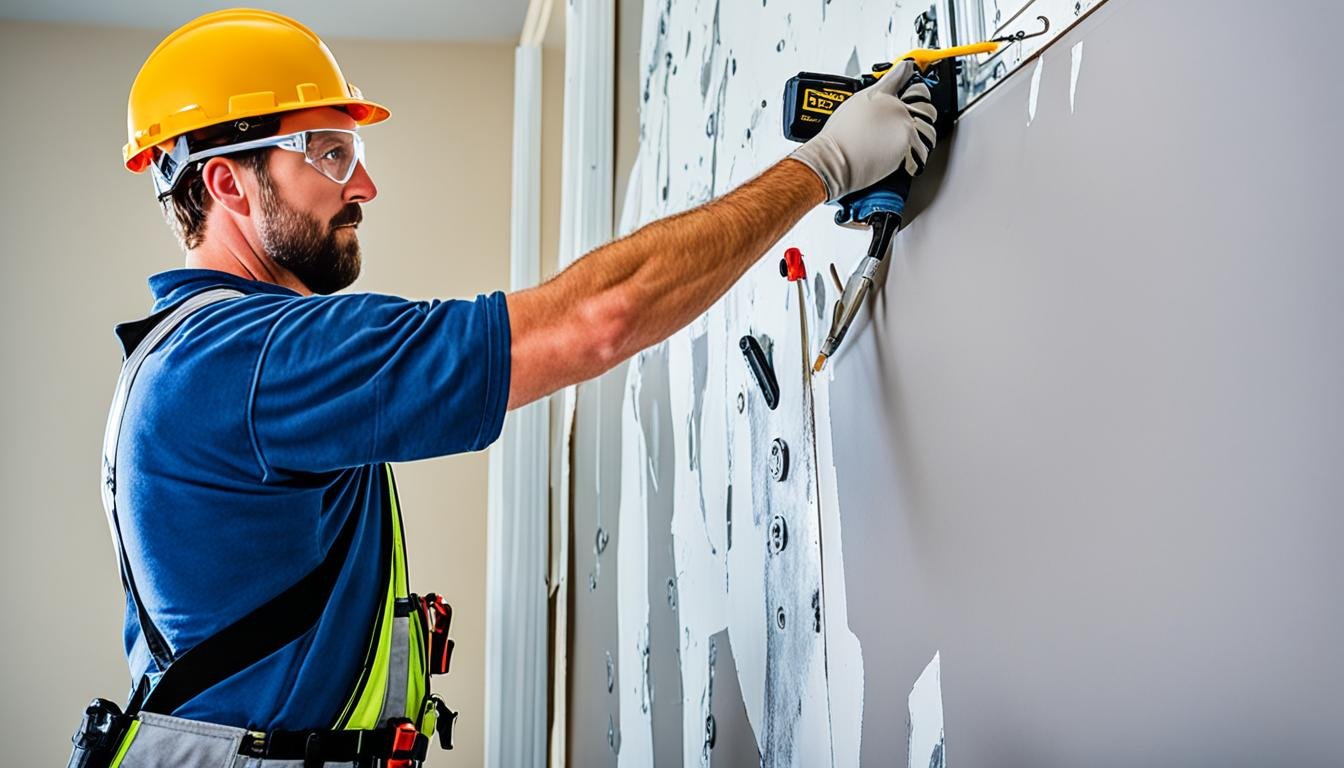
Have you seen a room that’s beautifully remodeled? Its smooth walls and perfect finish are captivating. You’ve probably wondered, “How did they do that?” We’re here to show you how to achieve that perfection in drywall hanging.
Imagine completing a DIY home makeover. It’s time to hang drywall. Holding the first panel, you feel excited yet nervous. You’re eager to start but unsure how.
Don’t worry, we’ve been in your shoes. That’s why we’ve put together this guide. We’ll guide you at every step, sharing tips and techniques. With our support, hanging drywall will become an exciting project, not a daunting one.
Whether you’re very experienced or new to DIY, this guide is for you. We’ll cover everything from selecting the right tools to applying final touches. We want to help you become a drywall hanging pro.
So, let’s get started. Grab your tools and follow along. You’re about to become an expert in drywall hanging, making your space truly your own.
Key Takeaways:
- By following this comprehensive guide, you can learn how to hang drywall like a professional.
- Choosing the right tools is crucial for a successful drywall installation.
- Master the step-by-step process of hanging drywall, from measuring and cutting to finishing.
- Discover expert tips and tricks to achieve a flawless finish.
- Avoid common mistakes that can compromise the quality of your drywall installation.
Essential Tools for Hanging Drywall
Before starting your drywall project, it’s crucial to have the right tools ready. The correct tools will simplify the installation process. Here’s a list of essential tools you’ll need:
- Screw gun: Use a screw gun instead of a regular drill for perfect depth control with screws. It prevents screws from going in too deep or not deep enough.
- T-square: A T-square is vital for making exact cuts and measurements. It helps ensure your drywall fits just right.
- Utility knife: A sharp utility knife is perfect for scoring and slicing drywall panels. It ensures clean, precise cuts for a snug fit.
- Drywall saw: A drywall saw is essential for cutting spaces for outlets and switches. It makes creating these openings easy and efficient.
- Drywall lift: A drywall lift can save your back when lifting heavy panels, especially for ceiling work. It makes positioning drywall panels simple and painless.
- Measuring tape: Correct measurements are crucial in drywall hanging. A dependable measuring tape helps avoid mistakes.
- Hammer: Despite screws being more common, a hammer is still needed. It’s used for nails or securing backing on corners for a solid install.
With these tools ready, we can begin our drywall project. Let’s get set to enhance our space with high-quality drywall work!
https://www.youtube.com/watch?v=ok-wK-4g7_U
Hanging Drywall Step-by-Step
Here’s how to hang drywall like an expert:
-
First, measure and cut the drywall to fit your walls or ceilings.
-
Begin with the ceiling. Use a drywall lift if needed. Fasten the first panel with screws at the right depth.
-
Keep adding panels. Make sure the seams are staggered. Also, leave a tiny gap between them for expansion.
-
For openings like doors and windows, use a T-square for precise cuts.
-
Add corner beads to outside edges. This gives strength and a neat finish.
-
Attach the drywall to the frames with screws. Space them 12 inches apart and along each frame in the sheet’s center.
-
Fill any gaps with joint compound. Sand the joints for smoothness.
-
Add another layer of compound and sand it for a flawless finish.
-
Finish up by priming and painting the drywall.

Pro Tip:
When marking drywall for cuts, use a pencil or utility knife. Clear markings help you cut accurately and avoid mistakes.
To hang drywall correctly, you need accurate measurements and cuts. Pay attention to all the steps for a professional look. After hanging the drywall, we move to finishing it. The next part will cover tips for a perfect drywall finish.
Tips and Tricks for Hanging Drywall
Want to hang drywall like an expert? Follow our expert tips and tricks for a top-notch result. Here’s what you need to know to use the right tools and get a smooth finish:
- Use a screw gun: Swap the regular drill for a screw gun. It gives you control over the depth, ensuring screws are perfectly set.
- Tight against the studs: Keep your drywall tight to the studs to prevent screws from popping. This helps achieve a secure and neat installation.
- Choose the right screws: Picking the right screws is vital. Match them with the drywall thickness and framing type for a durable fit.
- Tack with nails: Use nails to temporarily hold the drywall’s edges before screwing. This prevents movement and makes installation easier.
- Provide solid backing: Strengthen edges and corners with solid backing. It ensures a more secure and lasting fit.
- Mark the framing members: Mark framing members before starting. It saves time and helps place the drywall accurately.
- Replace missed screws: Replace screws that miss the framing. This prevents weak spots in the installation.
- Take your time: Installing drywall well needs patience and care. Focus on details for a professional appearance.
With these tips, your drywall project will go smoothly. Proper methods and careful work make a huge difference. Next, we will look at mistakes to avoid.

Common Mistakes to Avoid
When hanging drywall, some mistakes can be avoided. Knowing and paying attention helps ensure a smooth project. Avoid these errors for a successful DIY drywall installation.
Using a Regular Drill Instead of a Screw Gun
A big mistake is using a regular drill instead of a screw gun. This can make the screw depth inconsistent, leading to uneven walls. A screw gun helps control the depth, ensuring all screws are secure.
Not Ensuring the Drywall is Tight Against the Studs
Not making sure the drywall is tight against the studs is another issue. This can cause screws to pop out over time. Always check each panel is snug against the studs. Use shims if needed.
Using the Wrong Type or Size of Screws
Using the right screws is key. The wrong ones can make the drywall sag or break through the surface. Use the appropriate screws for the drywall thickness and framing type.
Not Providing Solid Backing on Edges and Corners
It’s important to have solid backing on edges and corners. Without it, drywall can be loose or unstable. This could lead to cracks or damage. Add backing on edges and corners for strength.
Failing to Mark the Framing Members Before Hanging the Drywall
Mark the framing members on walls or ceiling before starting. Not doing this makes finding studs hard later. Mark the framing members to ensure accurate installation.
Overdriving or Underdriving Screws
Finding the right balance when driving screws is crucial. Overdriving can damage the drywall. Underdriving can leave panels loose. Drive the screws in carefully to secure the drywall well.
Rushing the Installation Process
Rushing the installation is a big mistake. Taking time to finish joints and seams is important for a professional look. Rushing can cause gaps or uneven surfaces. Be patient and thorough for a flawless result.
By avoiding these mistakes, your drywall installation can be successful. Use the right tools and take your time. This way, you can hang drywall like a pro and create a beautiful space.
Conclusion
Hanging drywall might seem like a big challenge, but don’t worry! With helpful advice, you’ll get the hang of it. Just follow our steps and choose the right tools. Soon, your walls will look great.
Being patient is crucial. Take care to measure things right and get a good fit. It’s better to take your time. Remember, measure twice, cut once.
Also, choosing the right screws and tools is vital. They help avoid problems and ensure everything stays in place.
Now, it’s time to get started. Grab your tools, and let’s dive in! With some practice and focus on details, you’ll become amazing at drywall. You’ll make spaces look incredible, impressing everyone.
FAQ
What tools do I need to hang drywall?
What is the step-by-step process for hanging drywall?
What are some tips and tricks for hanging drywall?
What are some common mistakes to avoid when hanging drywall?
How can I hang drywall like a pro?
Source Links
- https://www.familyhandyman.com/list/hanging-drywall-tips/
- https://www.familyhandyman.com/project/how-to-hang-drywall-like-a-pro/
- https://www.thisoldhouse.com/walls/21016619/how-to-hang-drywall

Servicing various areas in Utah, Wasatch Summit and Salt Lake County, including but not limited to Eagle Mountain, Provo, Spanish Fork, Saratoga Springs, Lehi, Salem, Payson, Elk Ridge, and more, we cater to homeowners with newly built homes featuring unfinished basements. Our team of skilled professionals understands the intricacies of basement framing and uses state-of-the-art techniques and tools to exceed our clients’ expectations. (801) 687-8722


[…] your artistic side shine with drip painting and splash-painting. These techniques, inspired by Jackson Pollock, let paint flow freely onto the canvas. Pollock […]
[…] uses with the same color. This keeps the paint from drying out, making it easier to start again. Proper storage is important for keeping your roller sleeves in top shape and cutting down on cleaning […]