As a DIY enthusiast, I’ve found joy in painting a room with a fresh coat of paint. But, the cleanup can feel like a long task. That changed when I learned from Mauro Henrique, a pro with over 20 years of experience. He showed me how to clean up like a pro.
Mauro taught me the benefits of water-based paints and how to clean brushes and rollers right. He also shared tips on dealing with paint spills. Now, I’m excited to pass on these tips to you, so you can enjoy your work without the hassle of endless cleanup.
Key Takeaways
- Understand the advantages of using water-based paints for easy cleanup
- Learn professional methods for cleaning and maintaining painting tools
- Discover effective techniques for removing dried paint stains and spills
- Familiarize yourself with the proper disposal of leftover paint materials
- Explore pre-painting preparation steps to minimize cleanup efforts
Introduction to Professional Paint Cleanup
Homeowners are now choosing water-based paints like latex and acrylic over oil-based ones. These paints are safer, better for the planet, and easier to clean up. Cleaning paint right is key to keeping your paint job looking good and protecting your home.
The Importance of Proper Paint Cleanup
Cleaning paint well is important for many reasons. It keeps your paint job looking smooth and professional. If you don’t clean up, your paint might peel, crack, or change color. Also, leftover paint can draw in dirt and dust, making your paint job look bad and last shorter.
Benefits of Water-Based Paints for Easy Cleanup
- Water-based paints, such as latex and acrylic, are much easier to clean up compared to their oil-based counterparts.
- These paints can be removed from surfaces, tools, and skin using just soap and water, making the cleanup process more efficient and less time-consuming.
- Water-based paints also have significantly lower levels of volatile organic compounds (VOCs), making them a more environmentally-friendly option for your home painting projects.
Knowing how to clean paint right and the perks of water-based paints helps your painting projects look amazing and last longer. Keep an eye out for more tips on cleaning up like a pro!
How to Clean Up After Painting Like a Pro for your home
Painting your home can be a fun DIY project, but cleaning up afterwards can seem tough. But, with the right methods and tools, you can clean up like a pro. This ensures your paint job looks great. It’s best to use water-based paints like latex or acrylic because they’re easier to clean up than oil-based paints.
Start by gathering the right supplies for cleanup. You’ll need a bucket of warm water and a rag for spills or drips. For dried paint, use a mild detergent or paint thinner. Always wear gloves and work in a well-ventilated area when using solvents.
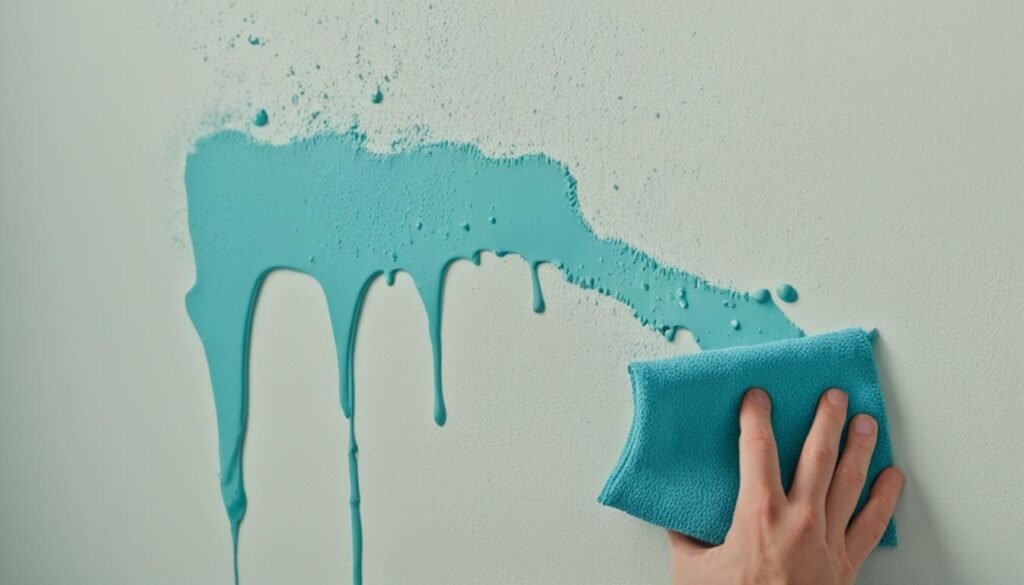
- Immediately wipe up any paint spills with a damp cloth. The sooner you clean a spill, the easier it is.
- Use painter’s tape to create clean lines and stop paint from going where you don’t want it. Remove the tape while the paint is still wet for the best look.
- Clean your painting tools, like brushes and rollers, right after you’re done with them. Taking care of your tools will make them last longer and help you get a smooth finish on your next project.
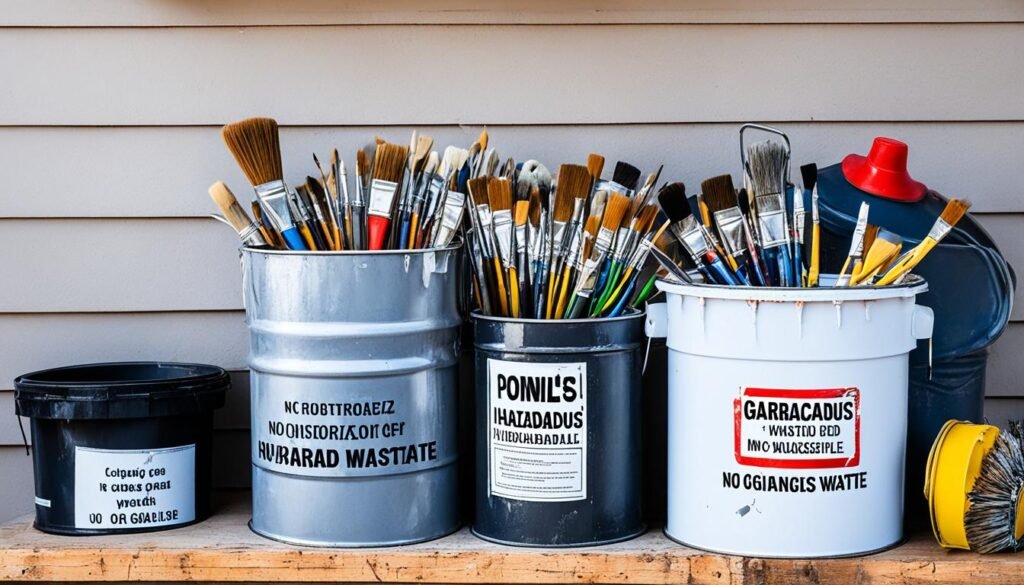
- Dispose of leftover paint the right way. Most cities have events for dropping off hazardous waste, including old paint cans.
By using these professional painters’ cleanup techniques, you can make your DIY paint job cleanup efficient and effective. A bit of preparation and attention to detail can help you achieve a how to clean up after painting like a pro result at home.

“A good brush can cost between $15 and $25, with synthetic bristles being most practical.”
Cleaning Paint Brushes Like a Pro
Keeping your paint brushes clean is key for professional-looking results and a smooth painting process. Whether it’s a small fix-up or a big home makeover, learning to clean paint brushes like a pro saves time, money, and stress. It’s a skill worth mastering.
Step-by-Step Guide to Cleaning Paint Brushes
Cleaning your paint brushes is easy with a few simple items. Here are the easy steps to clean your paint brushes like a pro:
- Fill a bucket or container with warm water. The water should be warm, but not too hot.
- Soak your paint brush in the water for a few minutes. This loosens and dissolves dried paint on the bristles.
- Swish the brush gently in the water to remove paint. Don’t scrub or bend the bristles, as it can harm the brush.
- Take the brush out of the water and spin the handle in your palms. This rinses the paint off the bristles.
- Soak and spin the brush until the water is clear and the bristles are clean.
- Straighten the bristles by hand and reshape the brush. Let it air dry completely before using again.
This step-by-step guide to cleaning paint brushes keeps your brushes in great shape. They’ll be ready for your next painting project with ease.
Maintaining and Cleaning Roller Sleeves
Keeping your painting roller sleeves in good shape is key for a smooth finish. Some painters, like Mauro Henrique, skip cleaning rollers. But, there are ways to make them last longer and keep painting consistent.
One easy method is to store the roller in a plastic bag between uses with the same color. This keeps the paint from drying out, making it easier to start again. Proper storage is important for keeping your roller sleeves in top shape and cutting down on cleaning time.
Cleaning rollers for water-based paints is simple. Just soak the cover in warm water with a mild detergent, gently agitate it, and rinse well. This usually takes 5-10 minutes. For oil-based paints, use paint thinner or mineral spirits. Let the roller soak for 5-6 minutes, then rinse and dry in a well-ventilated area.
| Paint Type | Cleaning Process | Time Required |
|---|---|---|
| Water-based | Warm water and mild detergent | 5-10 minutes |
| Oil-based | Paint thinner or mineral spirits | 5-6 minutes |
Keeping your roller sleeves in top shape also means trimming fuzzy or uneven edges. This prevents messy paint lines and ensures a smooth finish. With a little care, your roller sleeves will work well for many projects, saving you time and money.

“Cleaning paint brushes and rollers immediately after use is crucial to prevent the paint from drying, as it becomes more challenging to clean once it’s dried.”
By following these best practices for maintaining and cleaning roller sleeves, your painting tools will always be ready to give you professional-grade results.
Dealing with Spilled Paint
Accidents happen, and paint spills are common, especially with home projects. Cleaning up spilled paint, like latex or acrylic, is easy. With the right tools and some household items, you can clean up spills quickly and protect your home.
Quick Steps for Cleaning Up Paint Spills
Here are the steps to clean up a paint spill:
- Act quickly. The sooner you act, the easier it is to clean. Dried paint is harder to remove.
- Absorb the excess. Use a clean rag or paper towels to soak up the paint.
- Dilute with water. For water-based paints, add a bit of clean water and keep blotting to thin the paint.
- Scrub the area. Use a brush or sponge to scrub the surface, blending the paint into the material.
- Rinse and dry. Rinse well with clean water and let it dry completely.
These steps help you clean up most paint spills quickly. The key is to act fast and use the right methods to prevent the paint from setting and becoming harder to remove.
“Spilling paint is common, but you can clean it up quickly with the right steps. Act fast and use the right techniques to prevent it from setting and becoming harder to remove.”
| Surface | Recommended Cleaning Method |
|---|---|
| Hardwood Floors | Blot with a clean rag, dilute with water, and scrub with a sponge or brush. |
| Tile or Concrete | Blot with a clean rag, dilute with water, and scrub with a stiff-bristled brush. |
| Painted Surfaces | Blot with a clean rag, use a small amount of rubbing alcohol, and gently rub the area. |
Always test a small area first to make sure the cleaning method won’t damage the surface. With some effort and the right steps, you can clean up paint spills and keep your home looking great.
Proper Disposal of Leftover Paint
After finishing a painting project, it’s key to dispose of leftover paint right. Latex or water-based paint can last up to 10 years if unopened. Solvent or oil-based paint can last 15 years unopened. But once opened, paint can last only two to five years. With proper storage, oil-based acrylic paint might last up to 10 years.
Hardening and Disposing of Paint Cans Safely
Oil-based paint is hazardous waste and must go to a special disposal center. For latex paint, here’s how to dispose of it safely without recycling:
- Mix leftover paint with an equal amount of cat litter to solidify it.
- Once the paint hardens, the can can be safely thrown away with the trash.
It’s vital to dispose of paint cans right to protect the environment and sanitation workers. Check local rules for disposing of paint as they vary. Products like paint hardeners or kitty litter help solidify paint for safe disposal. A paint hardener costs less than $5 and can harden paint in 30 minutes. Local waste agencies can tell you the best way to dispose of paint in your area.

Cleaning Paint From Surfaces
Removing dried paint stains and splatters can be tough, but you can fix your surfaces with the right tools and methods. If you have a spill on hardwood floors, tiles, or any other surface, act fast. This prevents the paint from setting in and becoming harder to remove.
Removing Dried Paint Stains and Splatters
Using a chemical paint stripper like CitriStrip is a good way to remove dried paint. These products break down the paint’s bond with the surface, making it easy to scrape or wipe off. Always follow the instructions and wear safety gear, like gloves and a respirator, to protect yourself from fumes or splashes.
For a natural method, try vinegar and baking soda. Mix them equally and apply the paste to the stain. Let it sit, then scrub with a stiff brush or a scrubbing pad. This can remove dried paint stains without harsh chemicals.
For tough stains or splatters, a heat gun or steamer might be needed to soften the paint first. Use these tools with care to avoid damage. Always test them on a small area first to make sure they won’t harm your surface.
If you can’t remove the paint stains or splatters yourself, get help from a professional painting or cleaning service. They can check the situation and suggest the safest way to fix it. This ensures your surfaces are cleaned without further damage.
Storing and Maintaining Painting Tools
It’s key to take good care of your painting tools like brushes and rollers. This means cleaning them well after each use and storing them right. This keeps them ready for your next project.
Cleaning Paint Brushes and Rollers
Clean your paint brushes and rollers right after you’re done to stop the paint from drying. Water works for most brushes, but oil-based paints need solvents like paint thinner. Here are some tips:
- Run the bristles under warm water, keeping them pointed downwards to avoid damage.
- Use a paper towel to remove excess paint before cleaning.
- For rollers, dip them in water several times and allow them to dry completely.
- A DIY cleaning solution of 1/2 cup of fabric softener per gallon of warm water can also help maintain your brushes.
Proper Storage
After cleaning, store your painting tools the right way to make them last longer. Here are some tips:
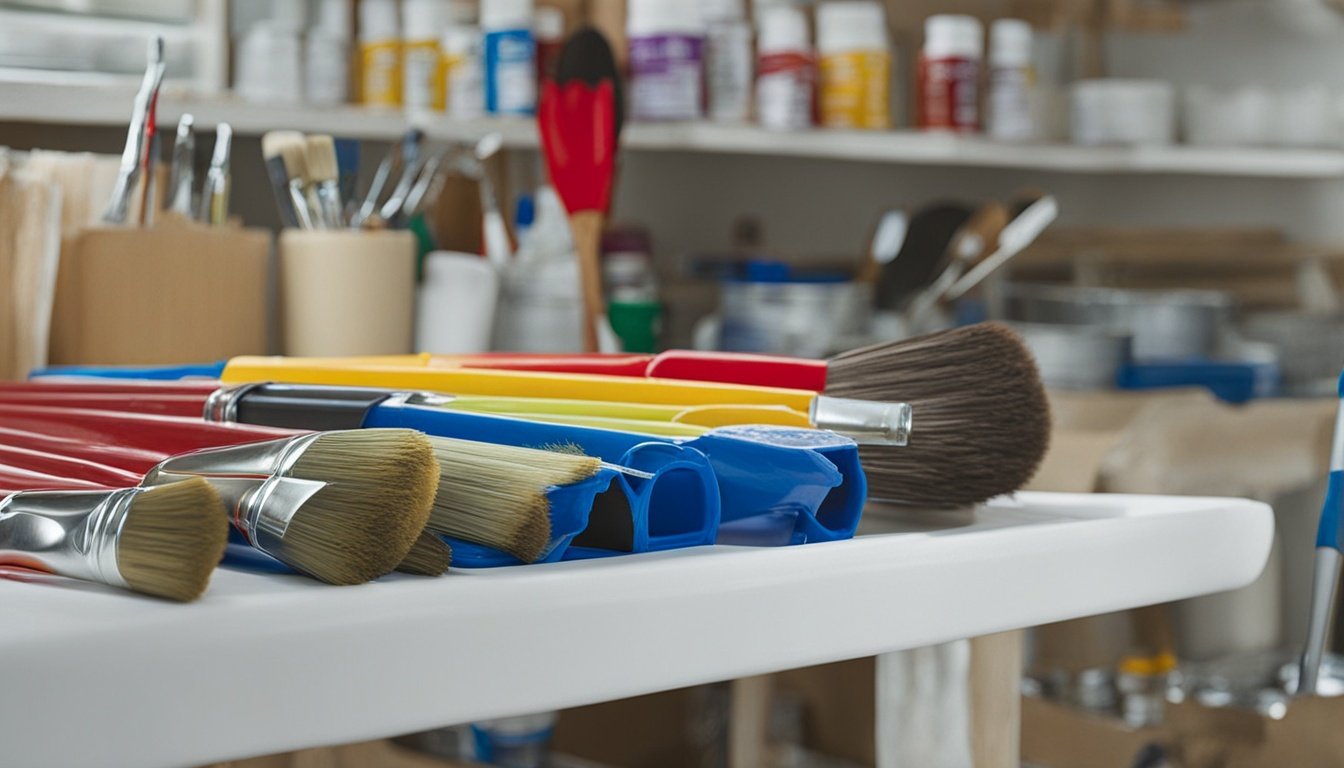
- Keep paint brushes upright and store them in their original sleeves or jackets to maintain the shape of the bristles.
- Store rollers in a cool, dry place, away from direct sunlight.
- Canvas or plastic drop cloths should be allowed to dry completely before storing.
By cleaning and storing your tools right, you can make them last for many projects. This means you’re always ready for your next painting job.
| Tool | Reuse Lifespan | Cleaning Tips |
|---|---|---|
| Paint Brushes | Multiple Years | Clean with water or solvent, store upright |
| Paint Rollers | Up to 5 Times | Dip in water, allow to dry completely |
| Drop Cloths | Indefinite | Allow to dry fully before storing |
https://www.youtube.com/watch?v=O1AfL6XrFig
“Proper storage and maintenance of your painting tools can save you money and ensure they’re ready for your next project.”
Pre-Painting Preparation for Easy Cleanup
Getting ready for painting the right way can make cleanup easier. Covering floors, protecting furniture, and having the right tools saves time and effort. This makes the whole process smoother.
Begin by laying down canvas drop cloths on the floors. They’re stronger and soak up spills better than plastic. Secure the edges with painter’s tape to keep everything in place.
Then, move or cover furniture, artwork, and light fixtures. This keeps your stuff safe and clears the area for painting. Make sure pets are locked away to avoid any mishaps.
Clean the walls before painting to get rid of dirt and grease. A mix of warm water and mild soap works well for this. It helps the paint stick better and gives a smooth finish.
Have all your painting tools ready, like paint brushes, rollers, and primer. Spending a bit of time getting ready can save you a lot of trouble later.
| Pre-Painting Task | Recommended Time Allocation |
|---|---|
| Wall Cleaning | 20-30 minutes per room |
| Furniture Removal | 10% of total project time |
| Pet Securing | Recommended for over 50% of households |
| Cabinet Cleaning | Advised for 25% of cabinet repainting projects |
| Wall Repairs | Percentage not specified |
“Preparation tasks for painting can account for up to approximately 30% of the total time spent on a painting project.”
Preparing your workspace well lets you focus on painting. This makes the whole process smoother and more efficient from start to finish.
Post-Painting Cleanup Checklist
After painting your home, it’s time to clean up. A detailed checklist helps you not miss any important steps. This ensures a clean, professional finish. Let’s go through the key tasks for a smooth cleanup.
- Remove painter’s tape: Carefully peel off any painter’s tape, taking care not to pull up any freshly painted edges.
- Clean paint brushes and rollers: Properly clean and store your painting tools to maintain their quality for future use.
- Dispose of leftover paint: Properly harden and dispose of any unused paint in an environmentally friendly manner.
- Wipe down surfaces: Use a clean, damp cloth to gently wipe down any painted surfaces, removing any dust or debris.
- Vacuum and sweep the area: Thoroughly vacuum and sweep the painting area to pick up any stray paint chips or dust.
- Check for touch-ups: Inspect the painted surfaces and address any minor touch-ups or imperfections.
- Restore furniture and decor: Carefully replace any furniture, artwork, or decor that was moved during the painting process.
By following this detailed checklist, your home will look amazing and freshly painted. You’ll get a spotless finish that highlights your effort.
| Task | Importance | Estimated Time |
|---|---|---|
| Remove painter’s tape | Ensures clean, crisp paint edges | 30 minutes |
| Clean paint brushes and rollers | Preserves tool quality for future use | 45 minutes |
| Dispose of leftover paint | Prevents environmental hazards | 15 minutes |
| Wipe down surfaces | Removes dust and debris for a smooth finish | 1 hour |
| Vacuum and sweep the area | Tidies up the workspace | 30 minutes |
| Check for touch-ups | Ensures a perfect, uniform appearance | 30 minutes |
| Restore furniture and decor | Returns the space to its original state | 45 minutes |
Remember, taking the time to thoroughly complete these tasks will leave your home with a flawless finish. It will look professional and well-cared for.
Conclusion
Follow the expert tips in this article to get a professional-level cleanup after painting. Use water-based paints and keep your tools in good shape. Also, clean up spills or splatters right away for a smooth painting experience.
Proper paint cleanup is key. It keeps your paintwork looking great and your tools lasting longer. Cleaning up like a pro means your home’s new look will last for years. You can do it yourself or hire a trusted service like SG Coatings. Just be as careful with cleanup as you were with painting.
Remember the tips from this article for your next painting project. Clean up well and take care of your tools for a beautiful finish. With the right skills and a focus on cleaning up, you can improve your home and feel proud of your work.


