Ever thought about how a simple garden shed could change your backyard? It’s possible to build one without spending a lot. But, where do you start?
Learning the basics of shed building is key. This includes finding the right spot and knowing about building permits. Think about how your shed’s design affects its use and looks. We’ll cover everything from size and style to roofing and doors, and local rules.
Whether you choose a pre-built kit or a custom design, we’ll help you. By the end, you’ll know how to build your shed.
We focus on an 8×12-foot shed with a 48-inch door, a window, a gable roof, and a ramp. We’ll give you all the details you need. Are you ready to start building your backyard’s new feature?
Key Takeaways
- Understanding the basic shed construction techniques can save you time and money.
- Proper planning involves choosing the right location, design, and understanding permit requirements.
- Pre-built shed kits are a convenient option for beginners, though custom designs offer more flexibility.
- A budget for shed building may require adjustments based on unforeseen costs such as additional supplies.
- Essential tools, such as a circular saw and cordless drill, are crucial for a successful DIY shed build.
Planning a Shed
Starting a shed project is exciting. But, it’s important to plan well. This guide will help you with the basics. You’ll learn how to choose the right spot and get the necessary permits.
Determine Shed Location
First, pick a good spot for your shed. It should be almost level for stability. Stay away from water-collecting areas and dense trees to avoid damage.
Design Considerations: Size, Style, Roof, and Door
Think about what you’ll use your shed for. This will help you decide its size and style. Choose a roof and door that fit your needs. Adding windows and ramps makes it more functional and looks better.
Make a detailed plan or buy one to simplify things. If you plan to add power, get a pro’s help. A strong foundation is key for a lasting shed. Use concrete blocks and wood platforms for a solid base.
Obtaining Building Permits
Getting permits is a must. Permits vary by area, so check local rules first. This ensures your shed is safe and follows building codes.
Here’s a quick guide to help you:
| Aspect | Details |
|---|---|
| Shed Location | Level ground, avoid flood-prone areas. |
| Design Considerations | Size, style, roof type, door location. |
| Building Permits | Check local ordinances for requirements. |
With these tips, you’re ready to start building your shed. Get ready for a fun project!
Build a Solid Foundation
Building a strong foundation is key for any shed. It makes your shed last longer, stay sturdy, and work well. Whether you’re a DIY pro or new to building, a step-by-step shed construction guide will help a lot. Here’s how to start.
Choosing the Right Foundation Type
The foundation you choose is very important for your shed’s stability. You can pick from simple on-grade foundations for smaller sheds or stronger frost-proof foundations for bigger ones. You can use concrete blocks or skid foundations for even weight distribution.
For frost-proof options, think about concrete piers or monolithic slabs. These are best for sheds over 200 sq. ft.
“Concrete paver foundations are cost-effective for sheds up to 160 sq ft but may fall short in areas with high wind risk,” advises experts.
Timber-frame foundations made from pressure-treated wood are also good. Make sure to check local building codes for specific foundation requirements needed for permits.
Step-by-Step: Concrete and Wood Foundations
Begin with a concrete or wood foundation. First, build a frame around the area. Use crushed stone for leveling and concrete blocks for adjustments.
- Construct a perimeter frame using treated wood.
- Level the frame with crushed stone or gravel.
- Place concrete blocks strategically, ensuring even spacing.
- Adjust blocks using additional gravel to achieve level.
- Secure the frame with pressure-treated lumber.
For concrete pier or deck blocks foundations, place treated wood frames on piers. This prevents water buildup and adds stability on uneven ground. Monolithic slabs are great for large sheds with heavy equipment, providing strong support.
Leveling and Setting the Foundation
Leveling your foundation is crucial for your shed’s stability. Start by marking the site and digging to the right depth. Use a laser level or spirit level to check for evenness.
Once it’s level, place your foundation material. This could be concrete blocks, gravel, or timber frames. Make sure it’s evenly distributed for stability.
| Foundation Type | Suitability | Key Features |
|---|---|---|
| On-Grade | Small to Medium Sheds | Quick to Build |
| Frost-Proof | Larger Sheds | Durable, Code-Compliant |
| Concrete Pavers | Sheds up to 160 sq ft | Cost-Effective, Easy Installation |
| Treated Wood Frame | Flat or Slightly Sloped Ground | Excellent Drainage, Versatile |
| Monolithic Slabs | Large Sheds | Robust Support for Heavy Equipment |
Think about the tools you’ll need, from hand tools to power tools. Having the right tools will make building your shed easier. By following this guide, you can build a shed that lasts, no matter its size or the weather.
Complete the Floor Frame with Joists and Sheathing
Building a strong shed floor is key to a long-lasting shed. You need the right materials and a good plan. Here’s how to add floor joists, square the frame, install plywood, and handle heavy loads.

Adding Floor Joists
Floor joists are the floor’s backbone. They should be 16 inches apart for stability. Use 2”x6”x10’ joists with joist hangers for strength. Double 2”x6”x12’ joints are good for rim joists.
Don’t make the joists too big. The right size is important to save money and keep the floor strong.
Nailing and Squaring the Floor Frame
Use galvanized nails and subfloor adhesive to square the frame. Make sure the corners are right angles. This step is crucial for fitting walls and roof correctly.
Check both diagonals with a tape measure. This ensures your floor frame is square.
Installing Plywood Sheathing
Plywood sheathing makes the floor sturdy and level. Use 3/4″ PT plywood or Advantech for moisture resistance. Two layers of 1/2″ PT plywood with staggered joints add strength.
Floor Frame Tips for Heavy Loads
For heavy items like lawn mowers or ATVs, use 2×8 joists. Concrete blocks under each joist add extra support. Good air circulation under the shed prevents moisture damage.
PT floor joists and materials like Advantech improve your shed’s durability.
“A well-built floor frame serves as the foundation for your entire shed. Investing in quality shed building materials pays off in the long run.”
Follow these tips and use the right materials and plans. Your shed floor will be strong, functional, and ready for anything.
| Task | Materials Required | Spacing |
|---|---|---|
| Adding Floor Joists | 2”x6”x10’ joists, joist hangers | Every 16 inches |
| Nailing and Squaring | Galvanized nails, subfloor adhesive | – |
| Installing Plywood Sheathing | 3/4″ PT plywood, Advantech | Stagger joints |
| Reinforcement for Heavy Loads | 2×8 joists, concrete blocks | – |
Frame the Walls
Framing the walls is key in shed construction techniques. Start by building the gable ends with lumber from your plans. Make sure each wall segment is square by checking diagonal measurements often. A shed, big or small, needs its frame set up correctly.
Use studs, bottom plates, and top plates in your frame. Stick-built walls often use 2x4s or 2x6s. This method is cost-effective and easy to follow. Remember to add headers for doors and windows. Sheathing under the siding adds stability and looks good too.
https://www.youtube.com/watch?v=BLk_CAMmQPc
Crowning studs is crucial. Make sure each stud’s bow faces the same direction. For some joints, screws are better than nails. Use 3” screws for framing and 2 ½” screws for attaching the floor to the siding.
Here’s a breakdown of essential dimensions and materials:
| Component | Details |
|---|---|
| Floor Joists | 2″ by 6″, spaced 16″ on center |
| Plywood Sheathing | ¾” thick |
| Wall Studs | 2×6” boards, 24″ on center |
| Screws for Framing | 3” screws |
| Screws for Attaching Floor & Siding | 2 ½” screws |
Building a shed can be easier with help. Tools from HART can make your project faster and more efficient. Use metal brackets to attach the floor framing to skids securely. Assemble wall frames on a flat surface before standing them up. Secure each frame to the floor and at each corner for stability.
C.R. O’Neill Company in Lexington, MA, can help with special metal fasteners. Following these tips ensures your walls are sturdy. This sets the stage for a strong roof.
Want to learn more about wall framing? Check out Joe Truini’s expert guide. It offers insights on framing methods and stability, including attaching nailers across poles for siding in pole-barn wall setups.
Precision in wall framing leads to a reliable shed structure. Secure each bottom plate to the floor joists with nails or screws. Drive two nails every 6 to 8 inches when attaching headers.
Frame the Roof
Building a strong roof is key for a durable and weather-resistant shed. By following these build a shed plans, your shed’s roof will be both sturdy and good-looking. Start by learning about and putting together roof trusses. Then, install rafters and plywood sheathing for a complete roof.

Understanding Roof Trusses
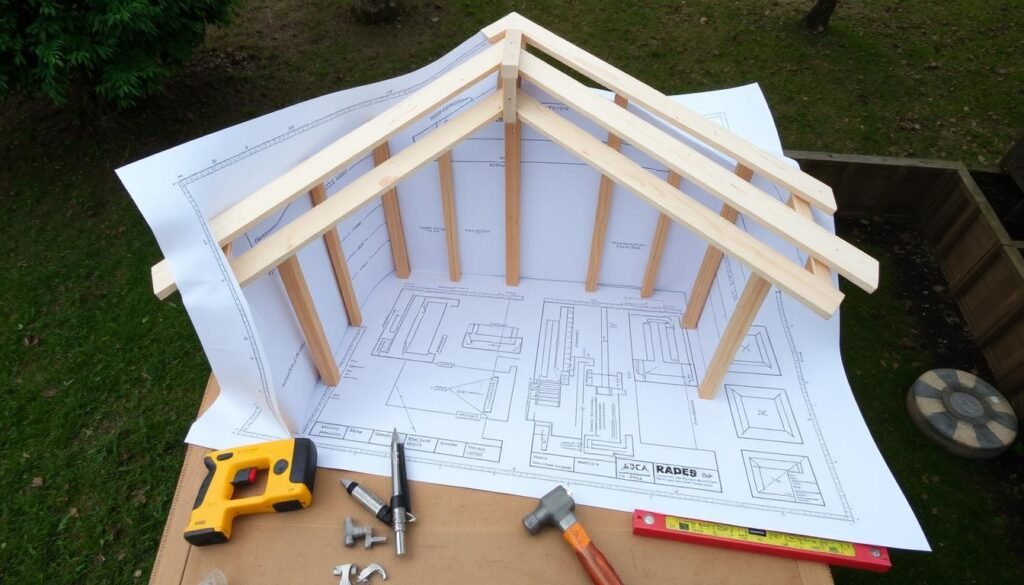
Roof trusses are vital for a shed’s roof support. They have rafters, bottom cords, and plywood gussets at each joint. This forms a strong triangular shape. It makes the roof even and perfect for DIY projects. Knowing how trusses work helps you follow the step-by-step shed construction guide.
Step-by-Step: Assembling Roof Trusses
Assembling roof trusses needs precise measurements and cutting. Here’s a simple guide:
- Cut the rafters to the right length, usually 2x4s or 2x6s.
- Build the trusses on the ground for easier handling.
- Use plywood gussets to secure the joints where the rafters meet, making them strong.
- All trusses should be the same size for a uniform roofline.
Using pre-built trusses can save time and ensure accuracy. This method is simpler than using ridge boards, especially for those following build a shed plans.
Installing Rafters and Plywood Sheathing
After assembling your trusses, it’s time to put them on your shed. Start by placing and securing the first truss at one end. Then, install the rest, spacing them 16 inches apart. Attach the second truss at the opposite end to keep things aligned.
Once all trusses are in place, add the rafters between them. The rafters should be at the right angle, usually a 3:12 or 7:12 pitch. After installing the rafters, add plywood sheathing on top. Start with one side and stagger the sheets for better roof strength.
Check out the table below for cost comparisons of different roofing materials for sheds:
| Material | Cost per Square Foot | Life Span | Maintenance Required |
|---|---|---|---|
| Asphalt Shingles | $1-3 | 20-30 years | Low |
| Metal Roofing | $3-6 | 50+ years | Low |
| Wood Shingles/Shakes | $3-9 | 30+ years | High |
| Roll Roofing | $1 | 10-15 years | Moderate |
| Tile Roofing | $8,000 – $23,000 | 50+ years | High |
By following this step-by-step shed construction guide, you’ll get a solid, durable, and efficient roof. It will last through time and weather.
Install the Roofing
Choosing the right materials for your shed roof is key for both looks and durability. A good roof keeps your shed safe from the weather. Start by picking materials that fit your needs and local climate.
Types of Roofing Materials
Shed roofs have many material options, each with its own benefits:
- Asphalt Shingles: Easy to put up and affordable.
- Corrugated Metal: Durable and strong; great for harsh weather.
- Slate: Very durable but more expensive.
- Rolled Roofing: A budget-friendly choice for small sheds with gentle slopes.
| Material | Durability | Cost | Ease of Installation |
|---|---|---|---|
| Asphalt Shingles | Moderate | Low | Easy |
| Corrugated Metal | High | Moderate | Moderate |
| Slate | High | High | Difficult |
| Rolled Roofing | Moderate | Low | Easy |
Installing Fascia Trim and Drip Edge
Fascia trim makes your shed look nice and helps the gutters. The drip edge stops water damage. Here are some diy shed building tips for a good install:
- Measure and cut the fascia board to fit the shed’s edges.
- Secure the fascia in place with galvanized nails.
- Install the drip edge along the roof’s perimeter to direct water away from the structure.
Laying Asphalt Shingles
Asphalt shingles are easy to use. Follow these steps for a watertight roof:
- Start at the bottom edge of the roof and work your way up.
- Lay a row of starter shingles along the eaves.
- Stagger the shingles to prevent water penetration.
- Secure each shingle with roofing nails, ensuring they are flush with the shingles’ surface.
- Continue layering the shingles, overlapping each row to avoid water seepage.
Install the Door
When *building a shed from scratch*, installing the door is key. It ensures your shed works well and stays safe. Choosing the right door and placing it right makes access easy and keeps your shed secure.
Choosing and Positioning the Door
The type of door material matters a lot. Cedar wood fights off rot, decay, and bugs well, making it great for outdoors. Pine is cheaper and easy to work with, especially in dry places or with a protective coat.
Redwood is less likely to warp and resists moisture well. Oak is strong and fights off fungi and bugs, perfect for busy sheds. Treated plywood is affordable if sealed right. Composite materials are easy to keep up and don’t rot or split.
Where you put the door is also important. It should fit well with your shed and be easy to get to. Make sure the door frame is square and use bracing for big or heavy doors. Adding cladding makes it stronger, and trim keeps it looking good and protects it from the weather.
Installing Hinges and Lock Mechanisms
Putting hinges and locks on is a big part of *shed building steps*. Use heavy-duty, galvanized, or stainless steel hinges for heavy doors. Exterior-grade screws keep the door tight and stop rust and corrosion. Strong latches and handles make it easy to open and close.
Weather stripping seals gaps, making it warmer and saving energy. A lockset adds extra security, though it’s not required.
To install hinges and locks right:
- Make sure the door is straight and braced well.
- Put hinges evenly to hold the door up.
- Use screws made for the outdoors for strength.
- Install handles and latches for easy use and safety.
- Add weather stripping for better insulation.
- Put in a lockset for more security if you want.
Following these steps, your shed door will work well and be safe and durable.
Paint or Stain Your Shed
After building your shed, you must decide between paint or stain. This choice affects how your shed looks and lasts. It’s a key part of finishing your project.
Choosing the Right Paint or Stain
Choosing between paint and stain is tough. Paint offers many colors and sheens but needs more prep and application. Stain, like Benjamin Moore Arborcoat and Cabot’s, is solid and durable but costs more.
Preparation and Application Techniques
Preparing and applying paint or stain is different. Here’s a quick look:
| Item | Paint | Stain |
|---|---|---|
| Preparation | Needs thorough cleaning, sealing knots with primer | Needs little prep; often no primer needed |
| Application | Usually two coats, some paints have built-in primers | Usually just one coat needed |
| Durability | Can peel in harsh climates | Soaks into wood, less likely to chip or flake |
| Cost | Varies, often paint is cheaper | Varies, high-quality stains can be more costly |
| Recommended Brands | Various, depending on need | Cabot’s, Sikkens |
Whether to paint or stain depends on your needs and priorities. The choice affects your shed’s look and upkeep. Making smart finish choices is crucial for durability and beauty.
Essential Tools for Building a Shed
Building a shed is a rewarding venture. But, having the right tools is key for a smooth process. From the start to the end, the right tools make building a shed easier and more fun.
Hand Tools vs. Power Tools
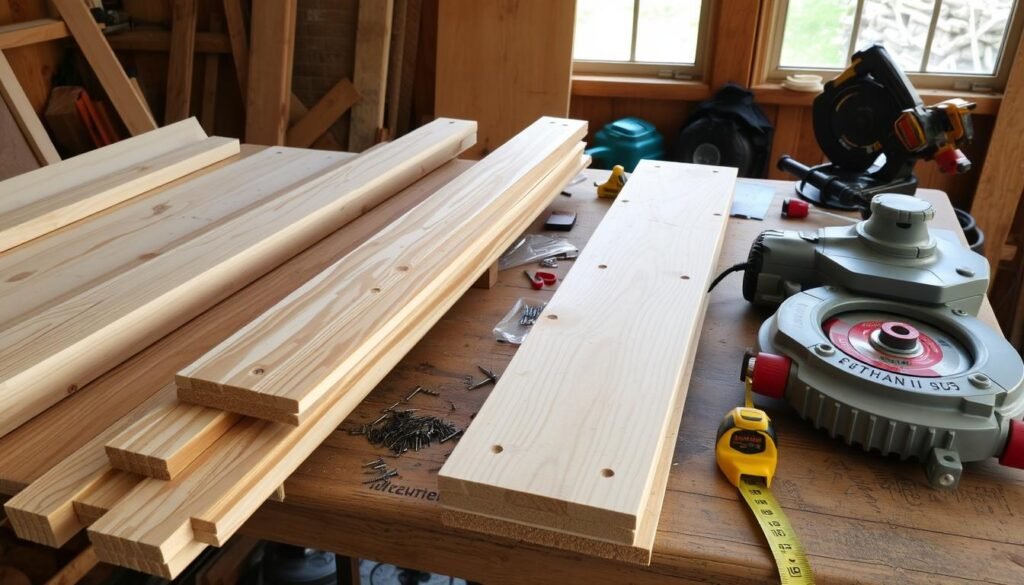
Hand tools are crucial for precise work. You’ll need measuring tapes, squares, and hand saws for accuracy. A hammer, utility knife, and level are also essential for nailing, cutting, and leveling surfaces.
Power tools, however, speed up the work and save effort. A power drill is a must for drilling and screwing. An impact driver adds extra torque for tough tasks. Circular saws and miter saws make quick cuts. Electric sanders smooth out surfaces for a perfect finish.
Recommended Tools for DIY Shed Building
Start your shed project with a good set of tools. Safety goggles, a level, and a cordless power drill are must-haves. A ladder or step ladder is vital for reaching high spots, especially when building the roof. A caulk gun is essential for sealing and sticking joints together.
For a solid foundation, you’ll need a line level, measuring tape, shovel, and rake. Post hole diggers are necessary for pier foundations. Framing squares and speed squares keep your work precise. Hammers and nail punches are universal for nailing, and safety glasses protect your eyes from dust and debris.
Using these essential tools will improve your shed’s quality, efficiency, and safety. Being well-equipped makes your shed building journey productive and fulfilling.


