

Want to make your home more elegant and charming? Installing molding is a great choice. There are many paths you can take, from simple trim to fancy crown molding. How do you start adding this beautiful feature to your space? We’ll look at some helpful tips to guide you in transforming your home with molding.
Install Three-Piece Crown Molding
Three-piece crown molding adds elegance to your home. It creates a beautiful transition between walls and ceiling. This enhances any space’s look and is great for traditional homes.
For a budget-friendly choice, use a simple L-shaped half beam with attached crown moldings. This gives your room a luxurious look without a big expense.
To install three-piece crown molding, follow these steps:
- Measure and mark the wall for the molding.
- Cut the L-shaped half beam to length with a miter saw.
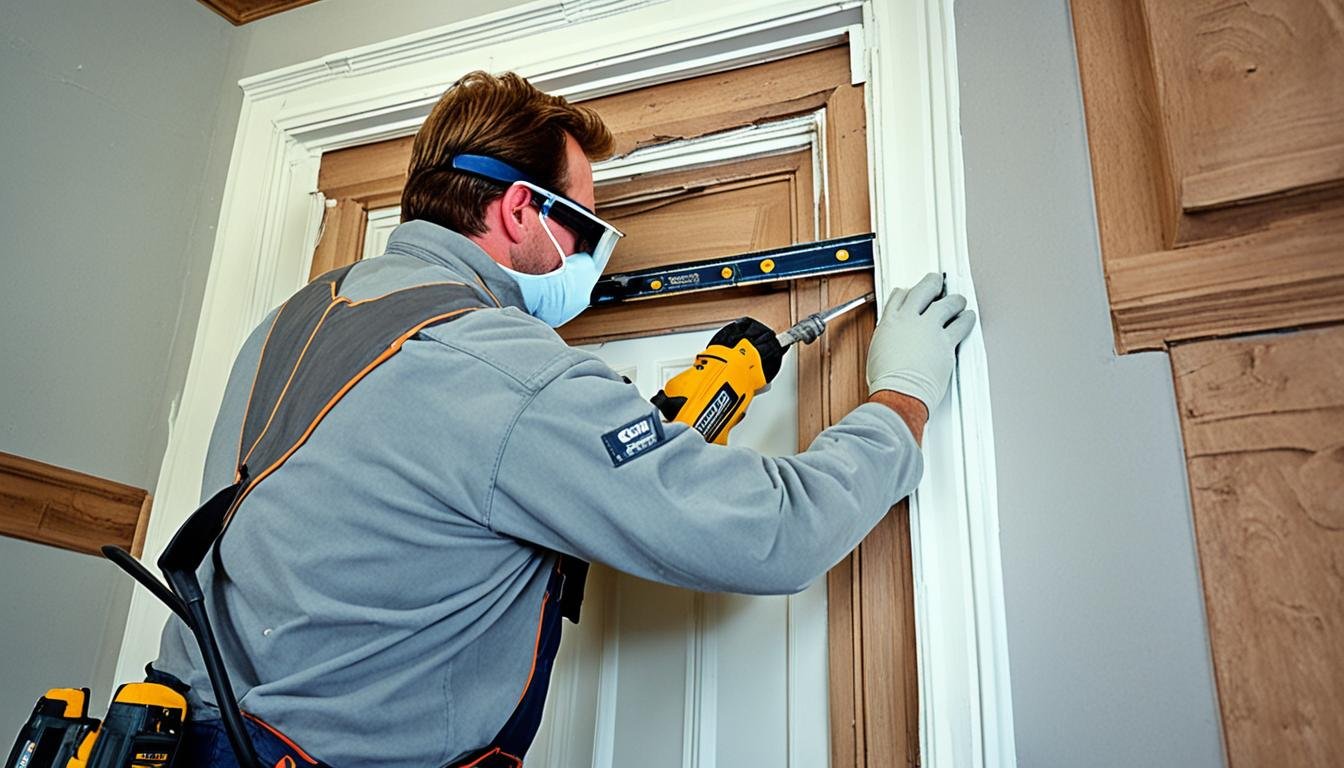
- Attach the half beam to the wall with a nail gun and glue.
- Measure and cut the crown moldings for the half beam.
- Attach the crown moldings to the half beam with a nail gun and glue.
- Fill gaps or holes with wood filler and sand smooth.
- Paint or stain the crown molding.
Here is a shopping list for materials and tools needed:
| Materials | Tools |
|---|---|
| Half beam | Miter saw |
| Crown moldings | Nail gun |
| Construction adhesive | Construction adhesive |
| Wood filler | Wood filler |
| Paint or stain | Sandpaper |
Pro Tip: Measure carefully before cutting for a professional look. Always wear safety gear with power tools.
With these tips and the right materials, you can add elegance to your home with three-piece crown molding. Get ready to enjoy its timeless beauty!
Build a Mirror From Case Molding
Mirrors make spaces look bigger and brighter. Large, framed mirrors, though, can be expensive. We’ve got a cheaper, stylish option for you – build a frame from case molding!
Use case molding, corner blocks, and fluted casing for a traditional, yet modern look. With simple steps and materials, you can make a mirror. This DIY project fits your style and budget perfectly.
DIY Mirror Frame Step-by-Step Guide
- Measure and cut the case molding to fit your mirror’s size.
- Use a miter saw to cut 45-degree angles on the molding ends for smooth corners.
- Attach the molding pieces to the mirror edges with wood glue.
- Use finishing nails or brad nails to hold the molding.
- Add corner blocks for extra decorative detail.
- Attach fluted casing along the mirror frame’s sides.
- After the glue dries, paint or stain the frame as you like.
- Hang your case molding mirror on the wall, following the manufacturer’s guide.
With case molding and creativity, make a unique mirror that brightens any room. It’s affordable too!
Let’s explore some mirror decorating ideas to inspire your project:
| Decorative Mirror Ideas |
|---|
| Add glamour with a vintage frame. |
| Choose a sleek, modern frame for simplicity. |
| Go rustic with a frame made of reclaimed wood. |
Building your mirror means you can make it match your style and decor. Let your creativity lead, and enjoy your unique, affordable mirror. It will add beauty and character to your space!
Install Wainscoting
Do your walls look plain and uninspiring? Wainscoting can add depth and value to your home. It involves adding layers of wood and moldings for an eye-catching look. Even if it sounds hard, with patience and care, you can DIY a great wainscoting project.
Gather Your Materials
Before you begin, gather all the tools and materials you need for wainscoting. Here’s your list:
| Shopping List | Tools List |
|---|---|
|
|
Now you’re set to start your wainscoting project.
Step-by-Step Installation
Follow these steps to properly install wainscoting:
- Measure and mark the height you want for your wainscoting on the wall.
- Using a miter saw, cut the lumber and moldings to size.
- Put construction adhesive on the back of your pieces.
- Start with the base board. Press it firmly onto the wall.
- Use finishing nails to make everything secure.
- Fill gaps with wood filler, then sand until smooth.
- Apply your paint or stain with a brush or roller.
Each step brings your wainscoting design to life, adding charm to your room.
Achieve the Look You Desire
Wainscoting lets you make your space unique. Choose from traditional to modern styles. Mix woods, colors, and moldings for the perfect look.

Don’t let dull walls bring you down. Get your tools, pick your materials, and start your DIY wainscoting project today.
Install Easy Crown Molding
Crown molding adds charm and value to your home. But traditional installation can be hard and slow. We have a simple, quick solution for you – Trimroc molding.
Trimroc molding is light and coated with durable plaster. It’s easy to cut and install with joint compound. No need for complex cuts or angles.
Installing Trimroc molding is quick. In just a weekend, you can make your room look amazing. Forget the long, hard installation work!
Before starting, gather all necessary materials and tools. Here’s a simple shopping list for easy crown molding:
- Trimroc molding
- Foam adhesive or construction adhesive
- Joint compound
- A putty knife
- A coping saw or fine-toothed saw
- A miter saw
- Sandpaper
- Paint or stain
These tools will help you with your crown molding project:
- Tape measure
- Pencil
- Level
- Caulk gun
- Paintbrushes or rollers
- Safety goggles
- Ear protection
Now, with everything ready, it’s time to start your crown molding project. Be creative, have fun, and enjoy making your space beautiful with Trimroc molding.
Install Wall Frames
Want to show off your carpentry skills? Installing wall frames is a great DIY project. By using simple moldings, you can mimic fancy woodwork. You don’t need a pro. With tools like a miter saw and nail gun, you can make tight joints. This adds timeless charm to any room.
To start, make sure you have all tools and materials. Use this list to help:
- Molding: Pick moldings like crown molding or baseboards for your design.
- Miter saw: This tool helps you cut angles for a neat frame.
- Nail gun: A good nail gun fixes moldings to the wall neatly.
- Tape measure: You’ll need this for correct measurements.
- Pencil: Mark your cuts for accuracy.
- Level: A level keeps your frames straight.
- Sanding block: Smooth rough edges with this.
- Painter’s tape: This tape protects walls from paint.
Got everything? Follow these steps to install wall frames:
Step 1: Measure and Mark
First, measure where your frames will go. Mark the height and spacing on the wall with a pencil. This keeps your frames even.
Step 2: Cut the Moldings
Cut the moldings with your miter saw. Make sure your cuts are angled right for perfect corners.
Step 3: Sand and Paint
Smooth the edges of your moldings. Paint or stain them to match your room.
Step 4: Install the Moldings
Attach the moldings with a nail gun. Follow your marks. Use a level to check if they’re straight.
Now, admire your wall frames! They add elegance and style to your space. This DIY project is a simple way to upgrade your home.
Conclusion
Installing molding can really make your home look special. You can pick from crown molding, baseboards, or decorative trim. With easy-to-follow steps and some basic tools, you can do it yourself and change how your space looks.
It’s important to plan well, measure accurately, and pay attention to details. When you take your time, your work will look great. Adding molding to your home adds elegance and charm.
So, start being creative and let molding help make your house feel like home. It’s a way to make your space nicer, show your style, and welcome everyone. Start now to see how molding can make your home beautiful.
FAQ
What is the benefit of installing molding in my home?
What are some popular types of molding?
How can I install three-piece crown molding?
What is a cost-effective alternative for building a mirror frame?
How can I install wainscoting?
What is an easy alternative for crown molding installation?
How can I install wall frames?
How can I enhance my home’s charm with molding?
Source Links
- https://www.realsimple.com/crown-molding-ideas-7976140
- https://www.bhg.com/crown-molding-ideas-8349770
- https://www.thisoldhouse.com/molding/21017592/beautify-your-home-with-crown-molding-and-other-trim-upgrades